Deploying Microservices Based E-Commerce Applications


Project Introductions:
Our project revolves around the deployment and orchestration of a microservices e-commerce application called "Robot Shop" using advanced cloud technologies. We follow a systematic step-by-step approach to ensure a seamless deployment process.
IAM Configuration:
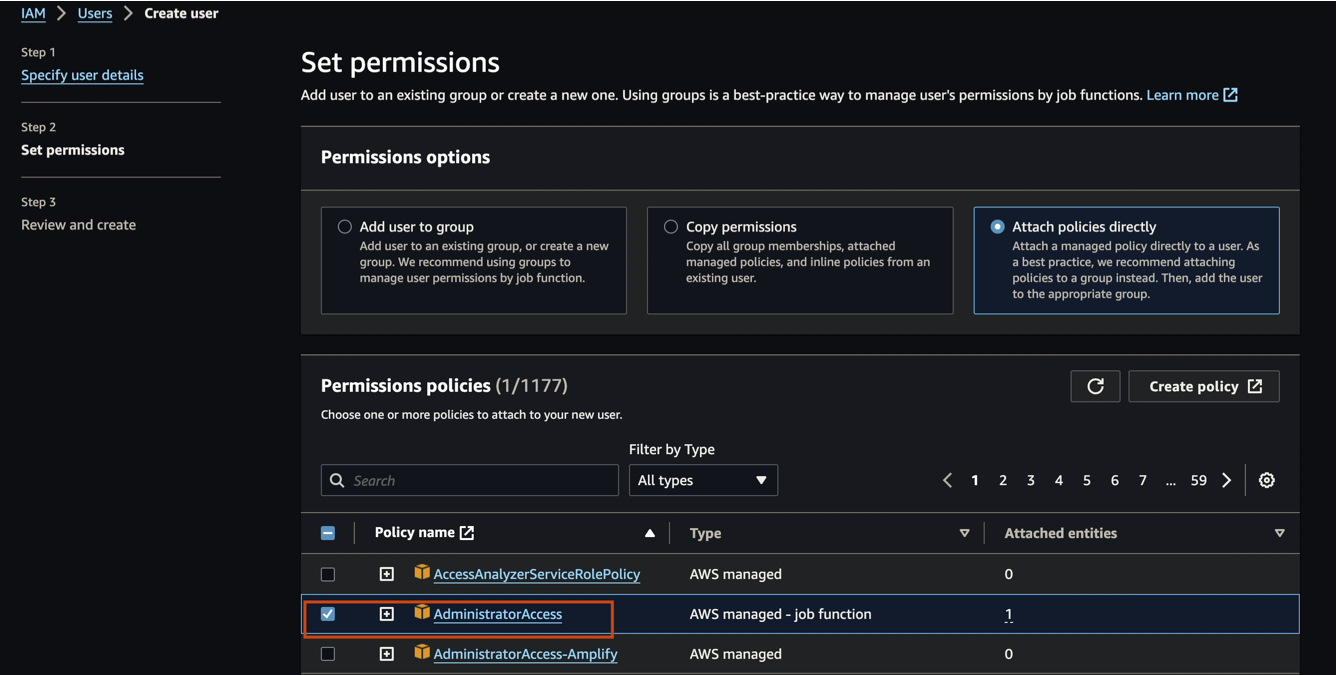
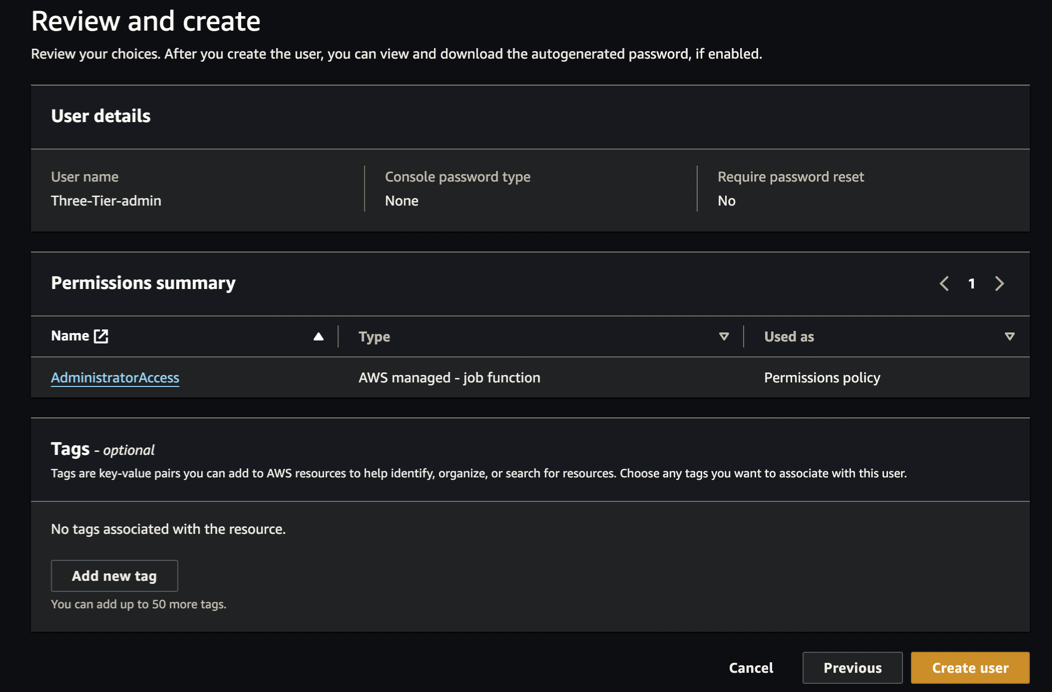
Create an IAM user ("Three-Tier-admin").
Attach the "administrationAccess" policy.
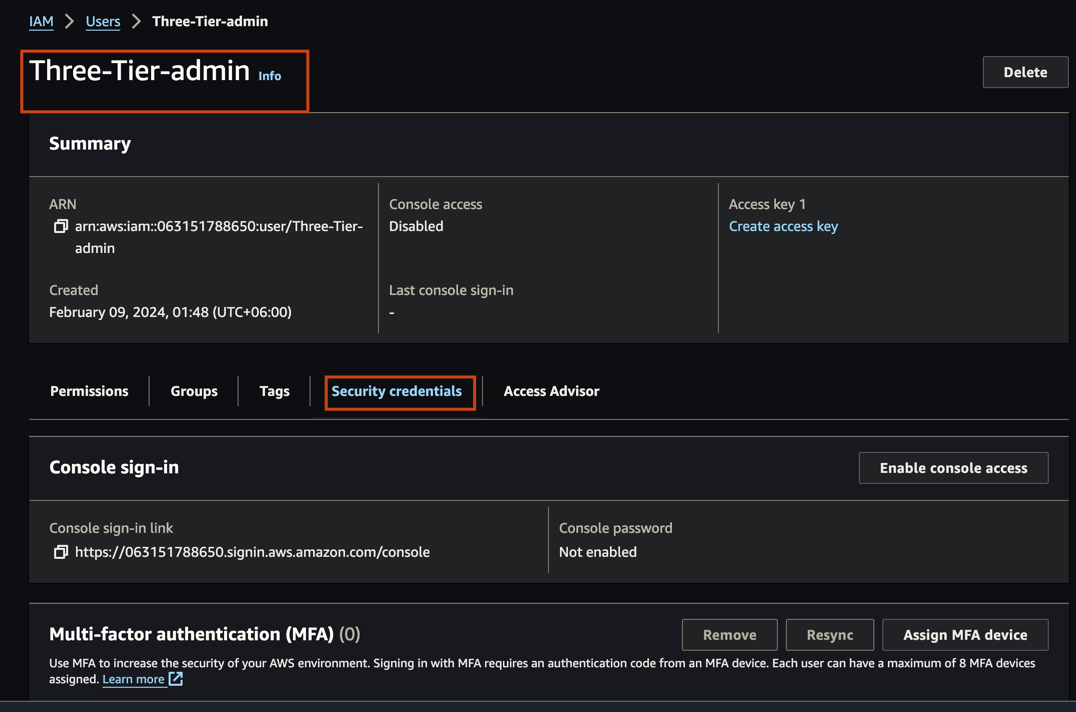
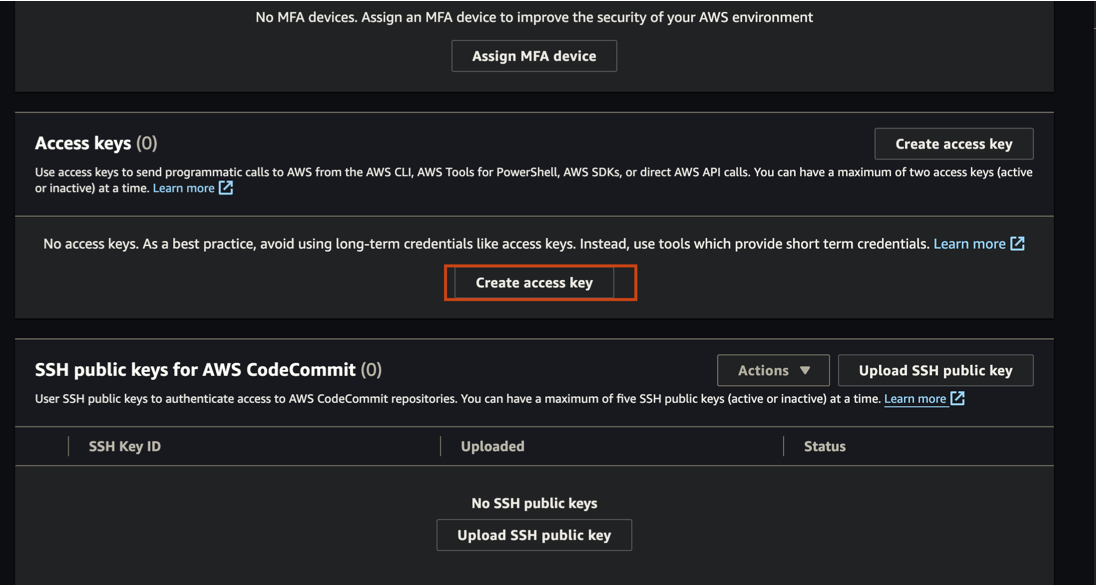
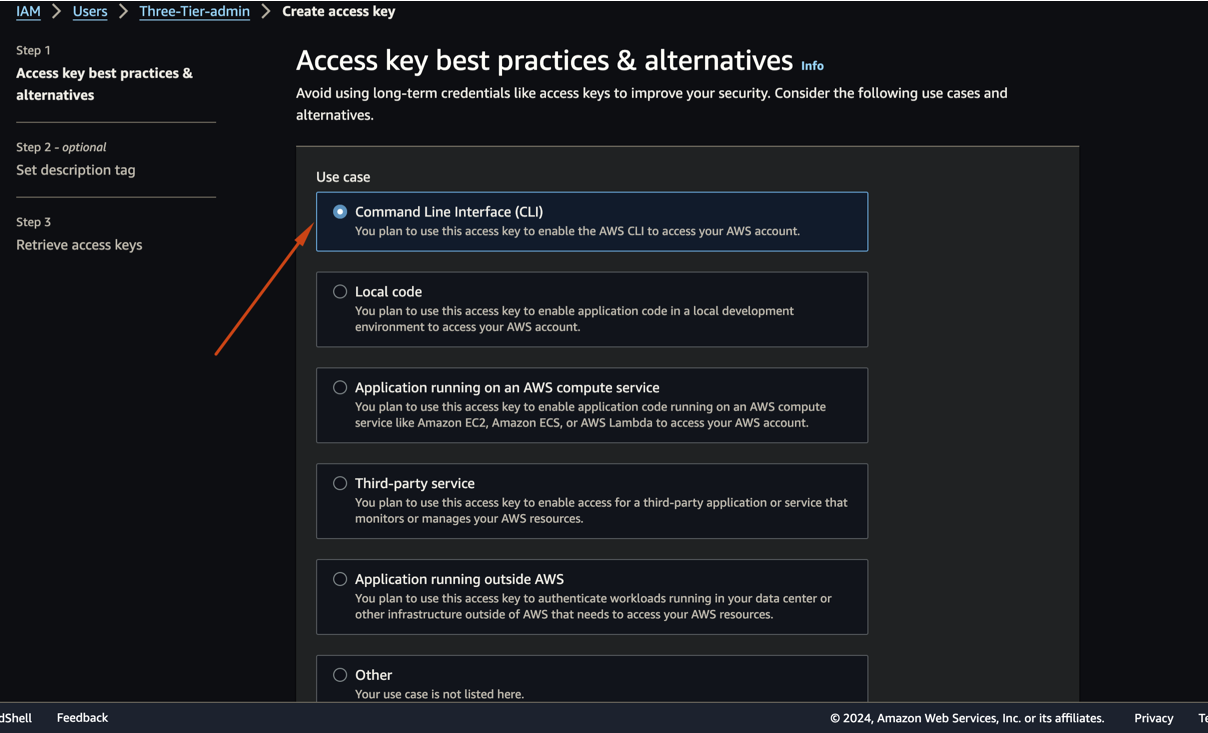
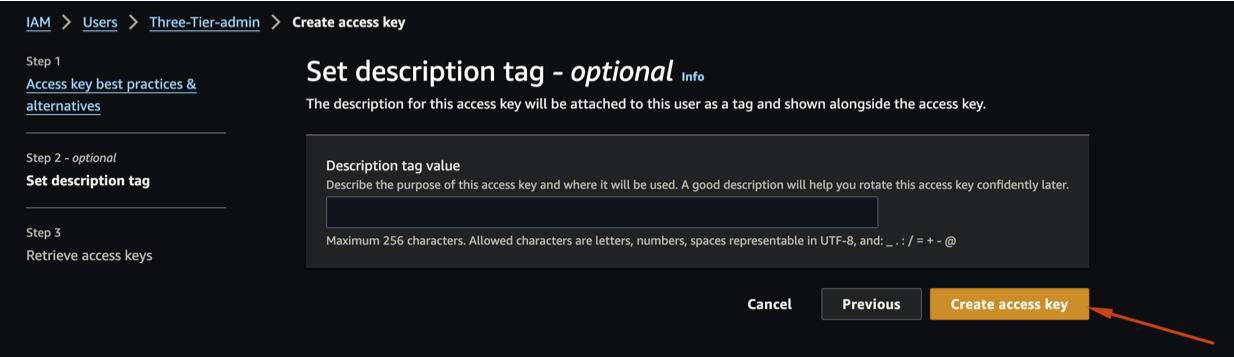
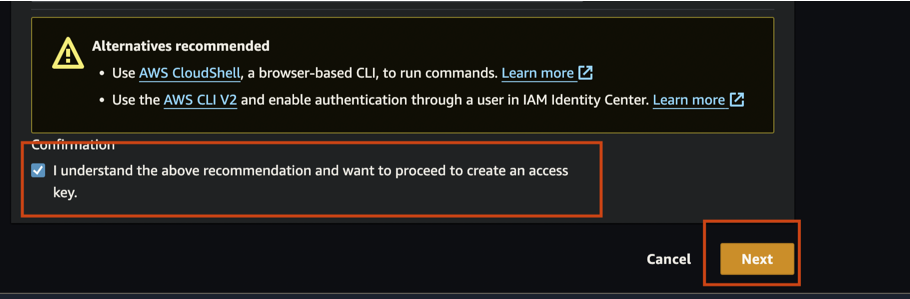
Generate an access key for the IAM user, opting for the "command line interface (CLI)."
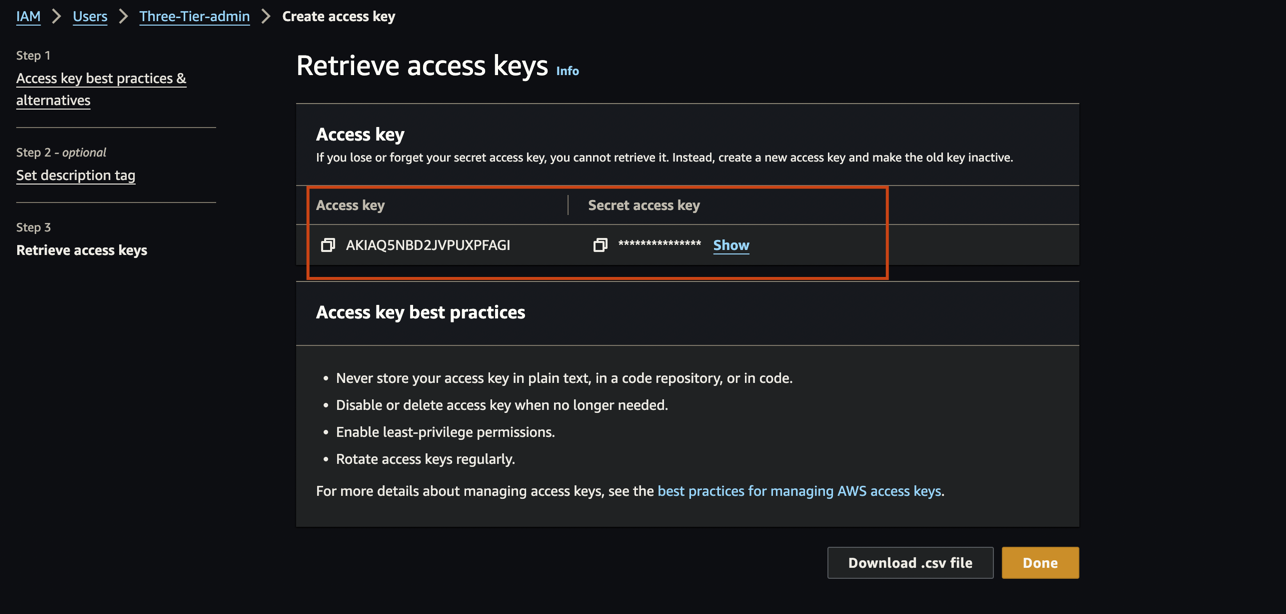
Download the credentials for future use.
Create EC2 Instance:
Launch a new EC2 instance with essential configurations.
Add configurations like key pair, AMI, instance type, and storage.
Modify storage as needed.
Connect to Instance and Install Required Packages:
- Connect to the instance and install necessary packages (AWS CLI v2, kubectl, eksctl, Helm).
EKS Setup:
Clone the Git repository.
Create an EKS cluster using eksctl.
Validate cluster creation via CloudFormation and EKS dashboard.
OIDC IAM Setup:
- Configure IAM OIDC provider for EKS cluster.
ALB Configuration:
Download IAM policy for ALB Controller.
Create IAM policy and role for ALB Controller.
Deploy ALB Controller using Helm.
EBS CSI Plugin Configuration:
Create IAM role and attach policy for EBS CSI plugin.
Enable EBS CSI plugin within EKS cluster.
Deploying Robot Shop Project with Helm Chart:
Navigate to Helm directory and create a namespace.
Install Helm Chart for Robot Shop.
Pods and Services Check:
Monitor the status of pods.
Apply Ingress for external access.
Verify application functionality.
STEP 1: IAM Configuration
Firstly, we need to create an IAM user, like for our project, we've created a user named "Three-Tier-admin" and directly attached the "administrationAccess" policy to it. Following this, we generate an access key for our IAM user. When creating the access key, we select the "command line interface (CLI)" option, and finally, we download the credentials (access key and secret key) for future use. This is the process we always follow.
STEP2: Create EC2 Instance :
For our project, we need an EC2 instance. So, we go to the EC2 instance dashboard and click on "Launch Instance" to create a new instance. There, we need to add necessary configurations like key pair, Choose an Amazon Machine Image (AMI), Choose Instance Type, Number of Instances, and Configure additional settings like network, subnets, IAM role, etc., if necessary. Under "Storage," we click on "Add New Volume" and set the size to 8GB (or modify the existing storage to 16, 32GB, or as required).

Step3: Connect to Instance and Install Required Packages
After connecting to the instance, we need to install the required packages. By executing the following command, we can install the necessary packages for our project.
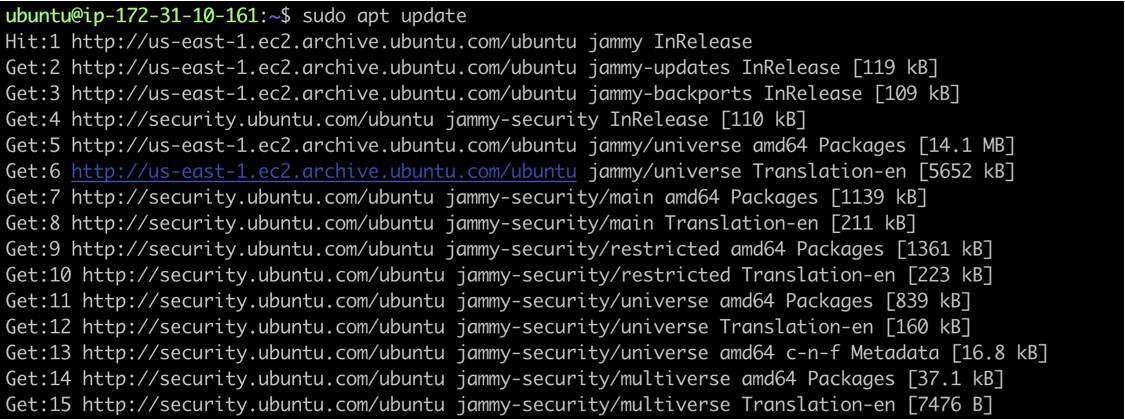
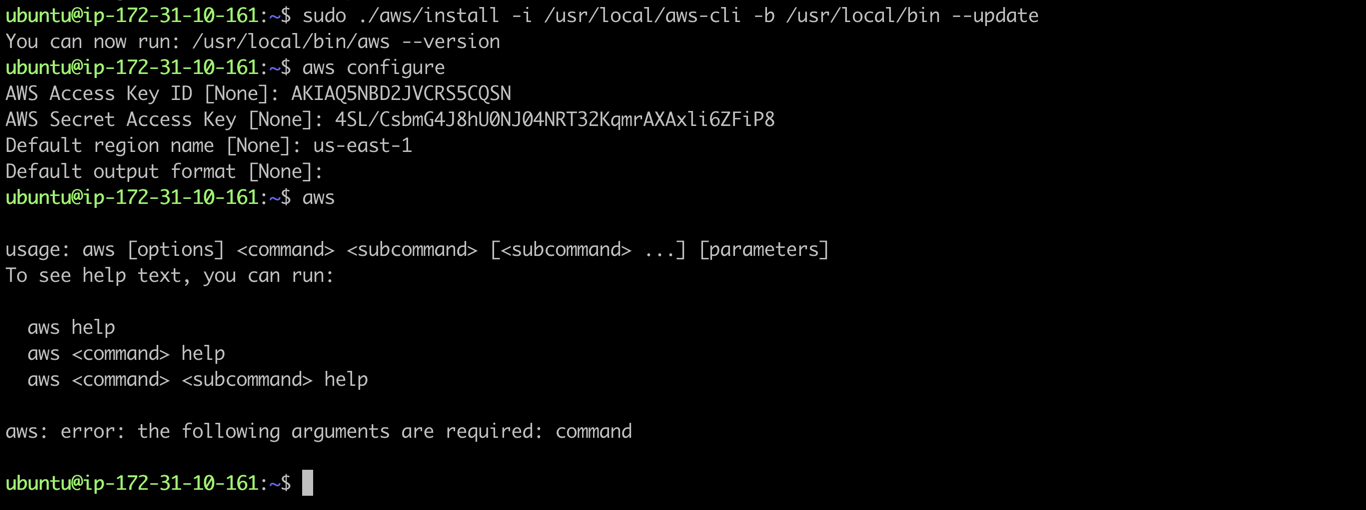
Install AWS CLI v2 with configuration
Install kubectl

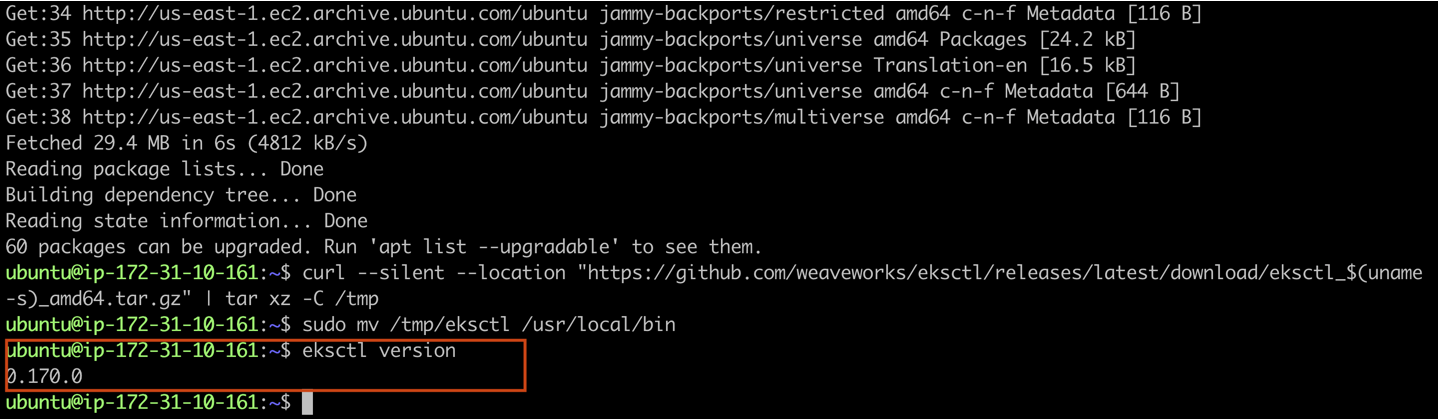
Install eksctl
Install Helm

STEP4: EKS Setup
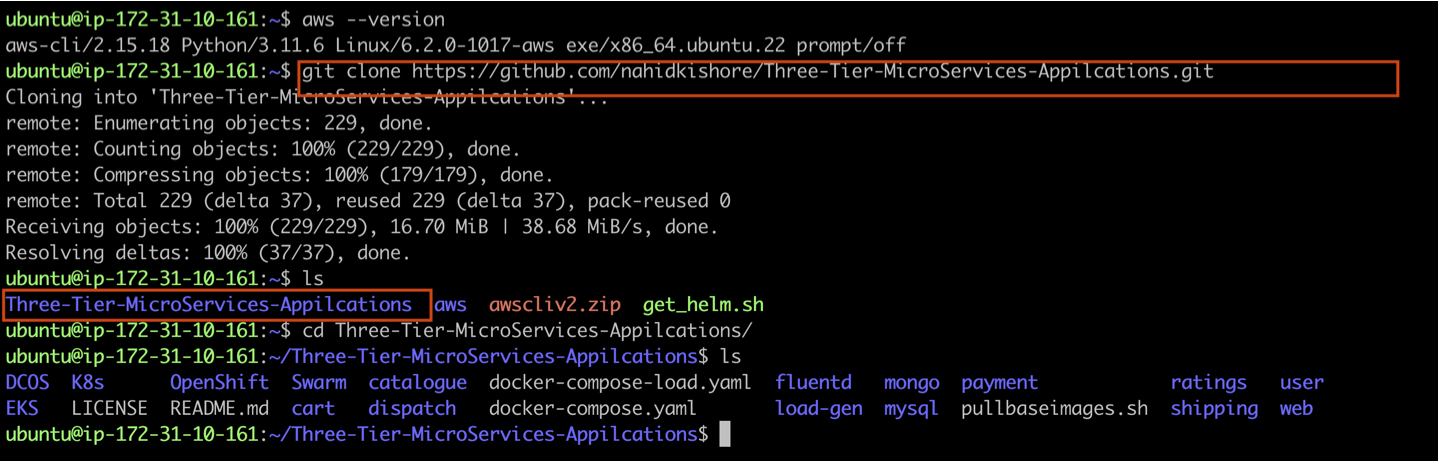
First, we need to clone our git repository. Here's the repository URL link:
https://github.com/nahidkishore/Three-Tier-MicroServices-Appilcations.git
Let's clone this GitHub repo and then you can use it for your own projects.
Now, we'll create an EKS cluster. For that, we'll navigate to our git repo directory and execute the command provided below. Our cluster creation may take around 10 to 15 minutes. So, if you want, you can take a tea/coffee break. We hope our cluster will be created by then.
eksctl create cluster --name three-tier-cluster --region us-east-1
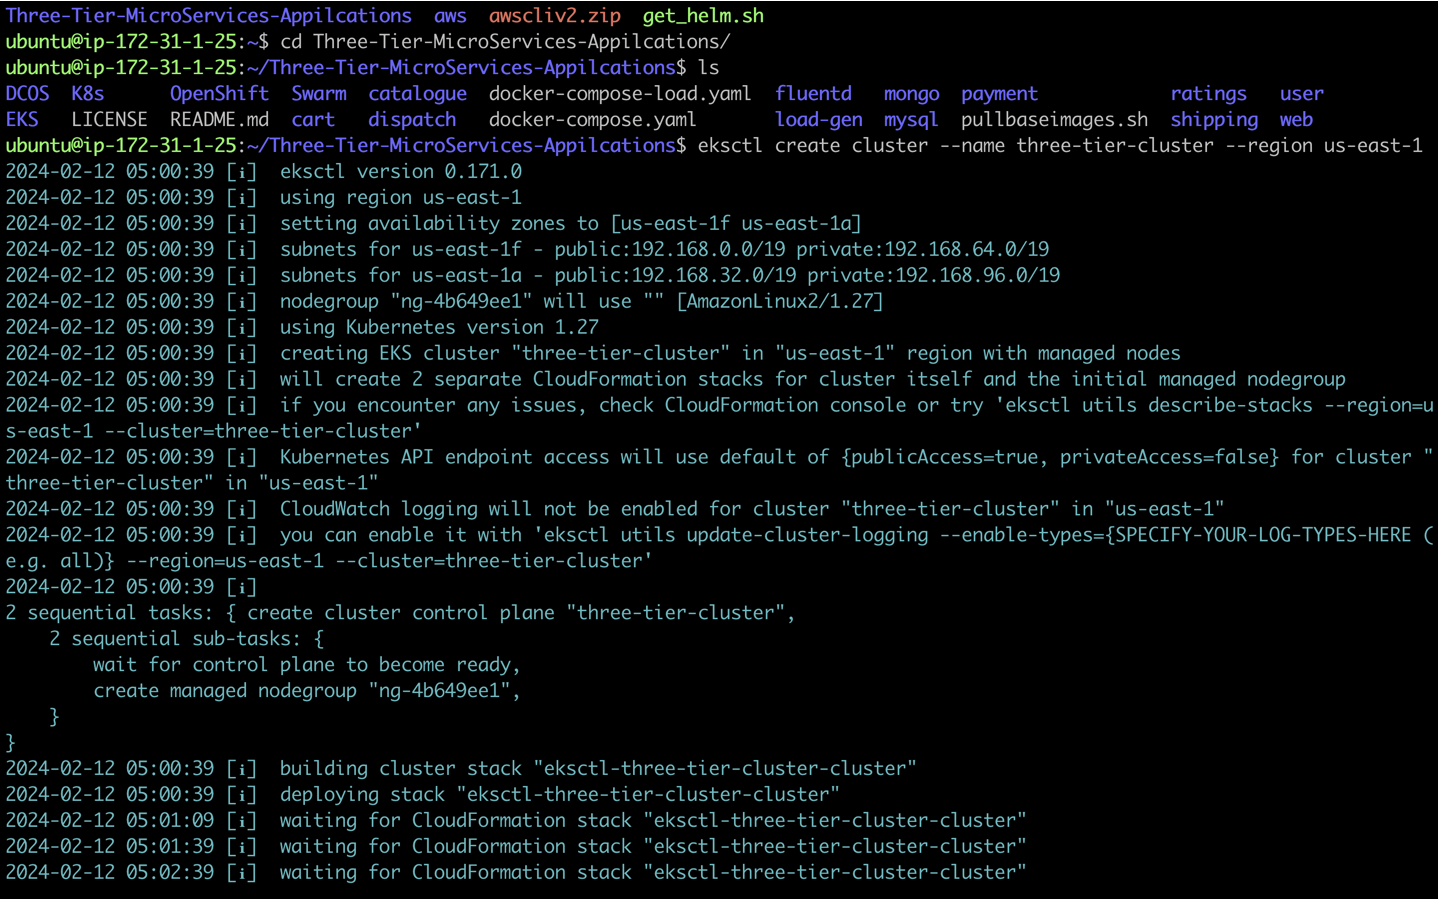
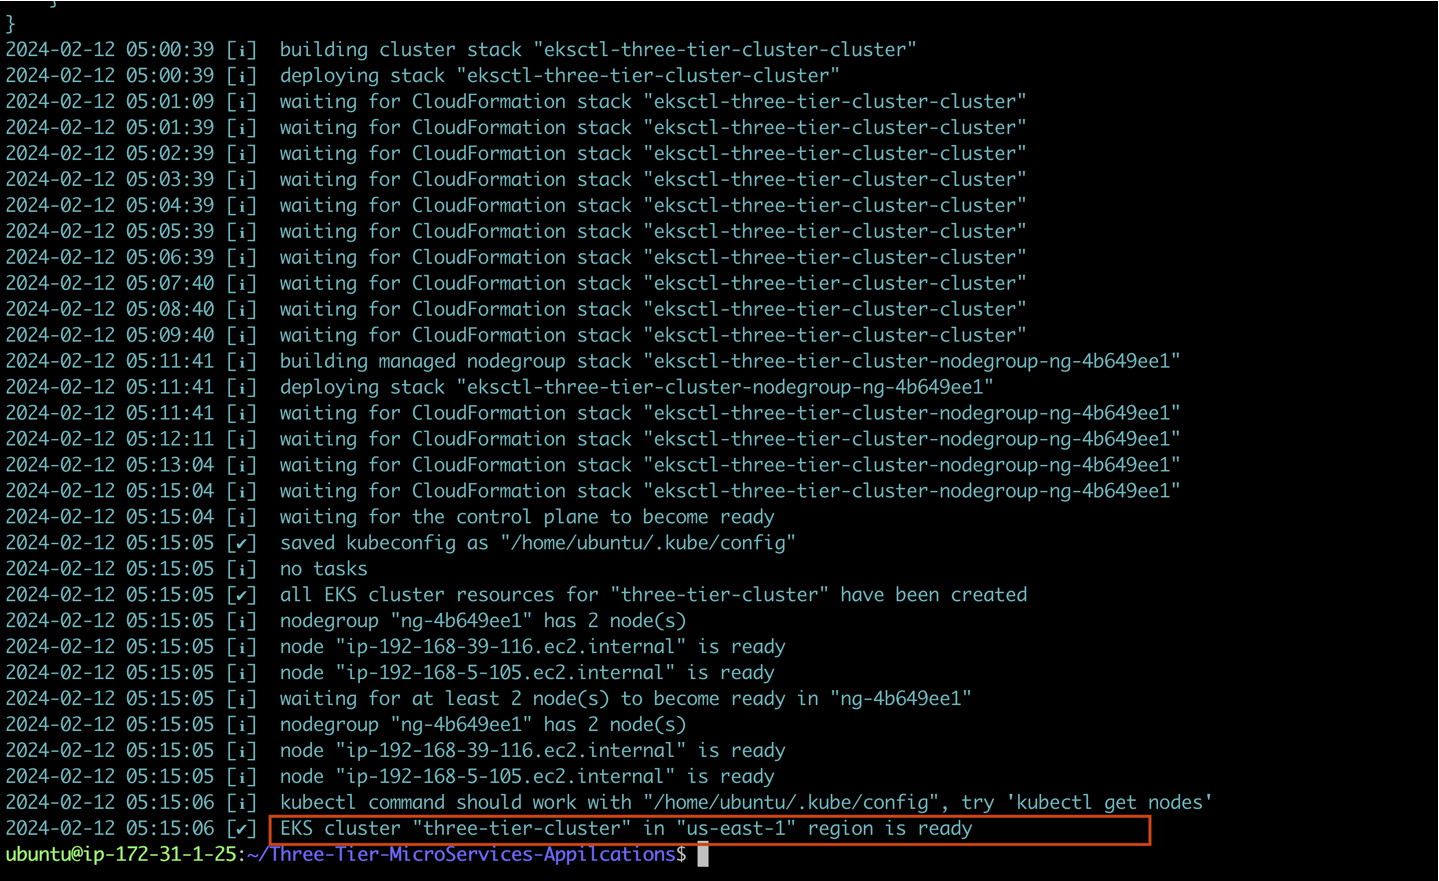
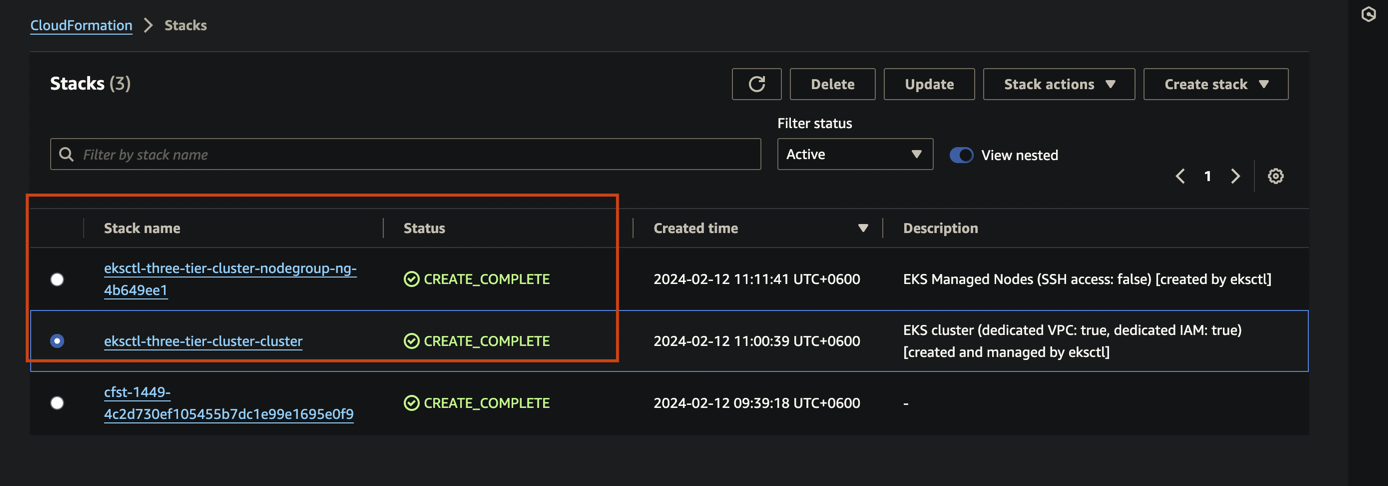
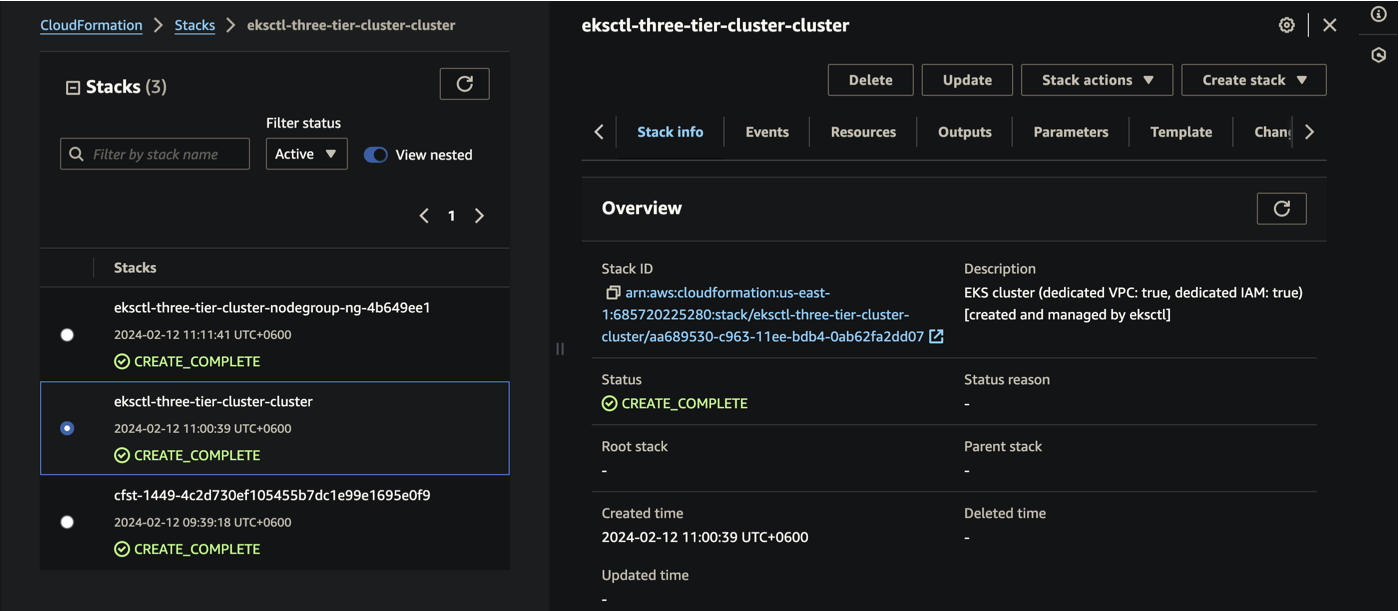
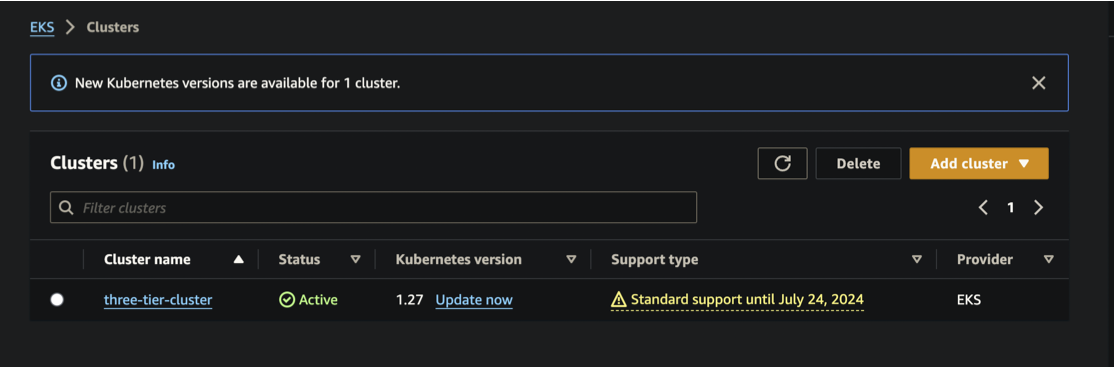
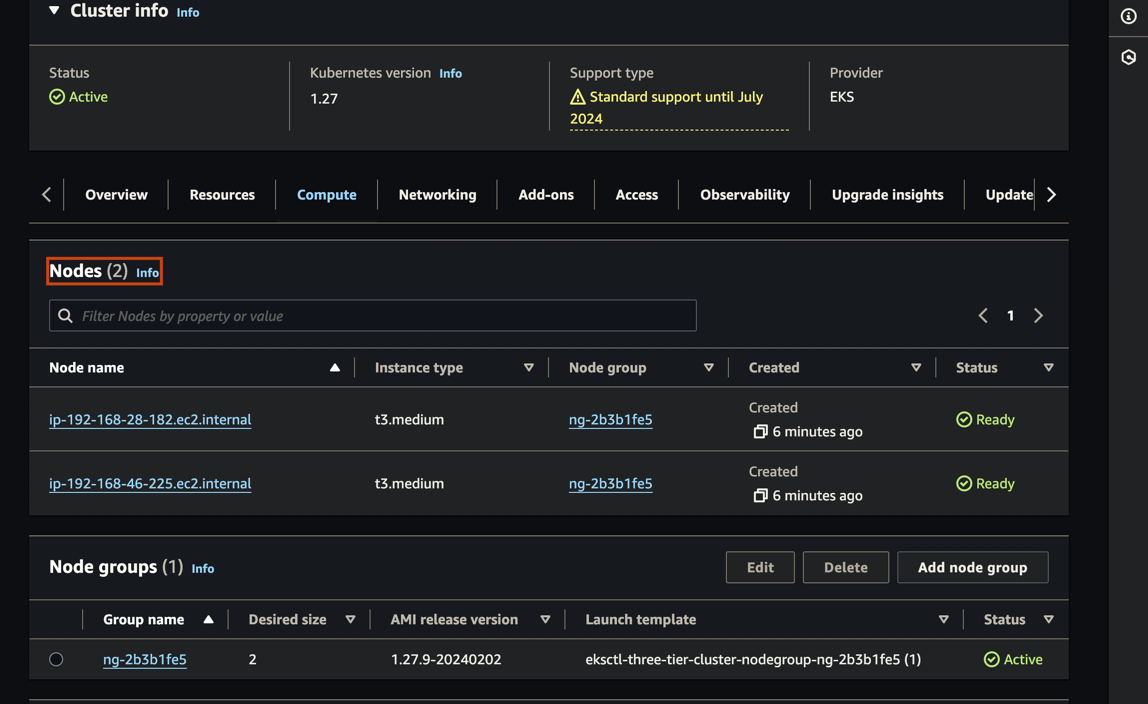
Through CloudFormation, we can check whether our EKS cluster creation is successful or not. If there are any errors or other issues, we can review them in the CloudFormation stack. If the stack status shows "create complete," we understand that our cluster has been successfully created. Now, let's navigate to our EKS cluster dashboard and see if our newly created cluster is visible. Look, our EKS cluster is showing up, indicating a successful creation.
Once the process is complete, you'll have a fully functional EKS cluster ready to support your containerized applications.
OIDC IAM Setup:
Configuring the IAM OIDC provider is a crucial step when working with Amazon EKS. It establishes a link between your EKS cluster and AWS Identity and Access Management (IAM), enabling seamless integration and secure authentication for your cluster.
Export Cluster Name:
Begin by exporting your EKS cluster name as an environment variable.
#export cluster_name=<CLUSTER-NAME>
export cluster_name=three-tier-cluster
Retrieve OIDC Issuer URL:
Obtain the OIDC issuer URL for your EKS cluster.
oidc_id=$(aws eks describe-cluster --name $cluster_name --query "cluster.identity.oidc.issuer" --output text | cut -d '/' -f 5)
Check Existing OIDC Providers:
Verify if there's already an IAM OIDC provider configured for your cluster.
aws iam list-open-id-connect-providers | grep $oidc_id | cut -d "/" -f4
Configure IAM OIDC Provider (if not configured):
If no OIDC provider is found, run the following command to associate IAM with your EKS cluster.
eksctl utils associate-iam-oidc-provider --cluster $cluster_name --approve
This command establishes the IAM OIDC provider, enabling AWS services like IAM roles for service accounts (IRSA) to work seamlessly with your EKS cluster.

ALB Configuration:
The AWS Load Balancer Controller (ALB Controller) is a critical component when it comes to managing and configuring Application Load Balancers (ALBs) on Amazon EKS. It simplifies the process of deploying and managing load balancers for your Kubernetes services, providing dynamic and automatic scaling capabilities.
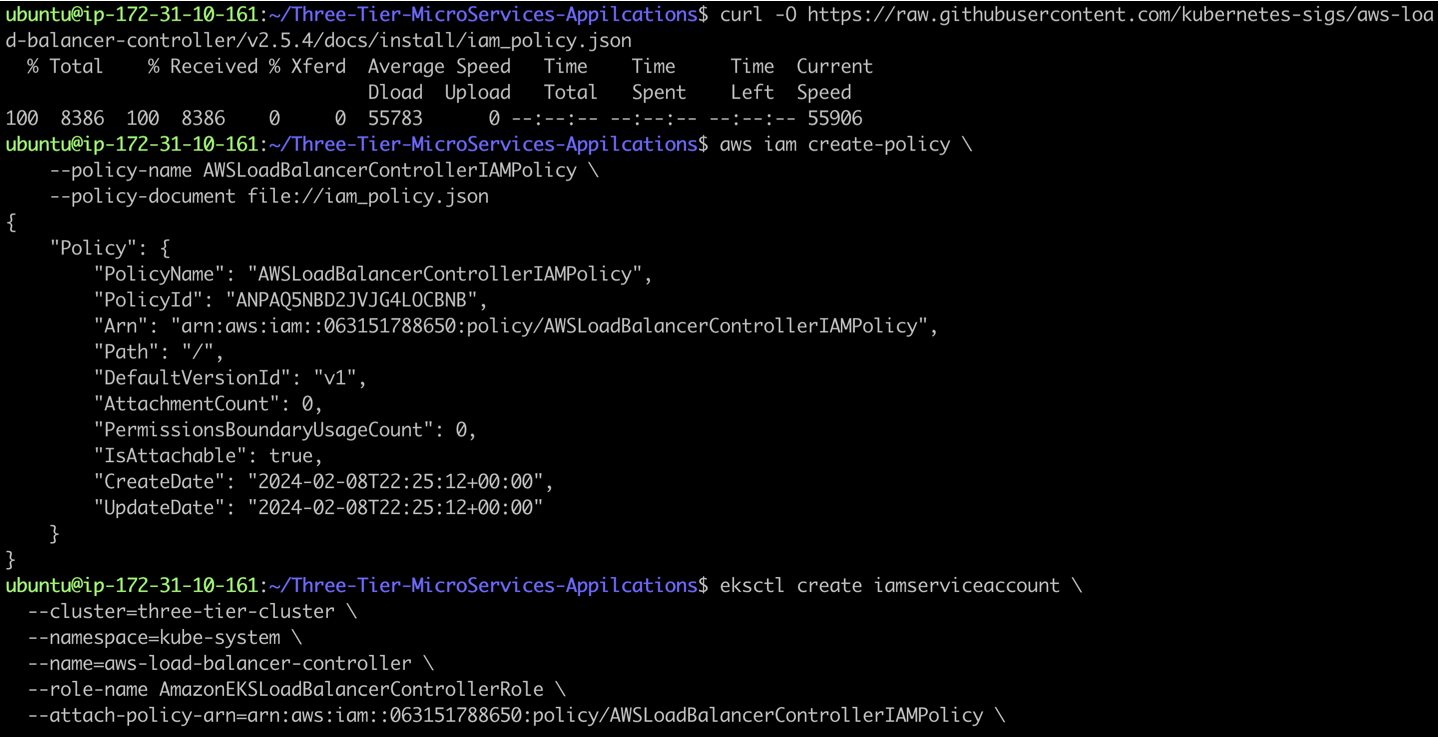
Download IAM Policy:
Begin by downloading the IAM policy required for the ALB Controller.
curl -O https://raw.githubusercontent.com/kubernetes-sigs/aws-load-balancer-controller/v2.5.4/docs/install/iam_policy.json
Create IAM Policy:
Create the IAM policy using the downloaded JSON file.
aws iam create-policy \
    --policy-name AWSLoadBalancerControllerIAMPolicy \
    --policy-document file://iam_policy.json
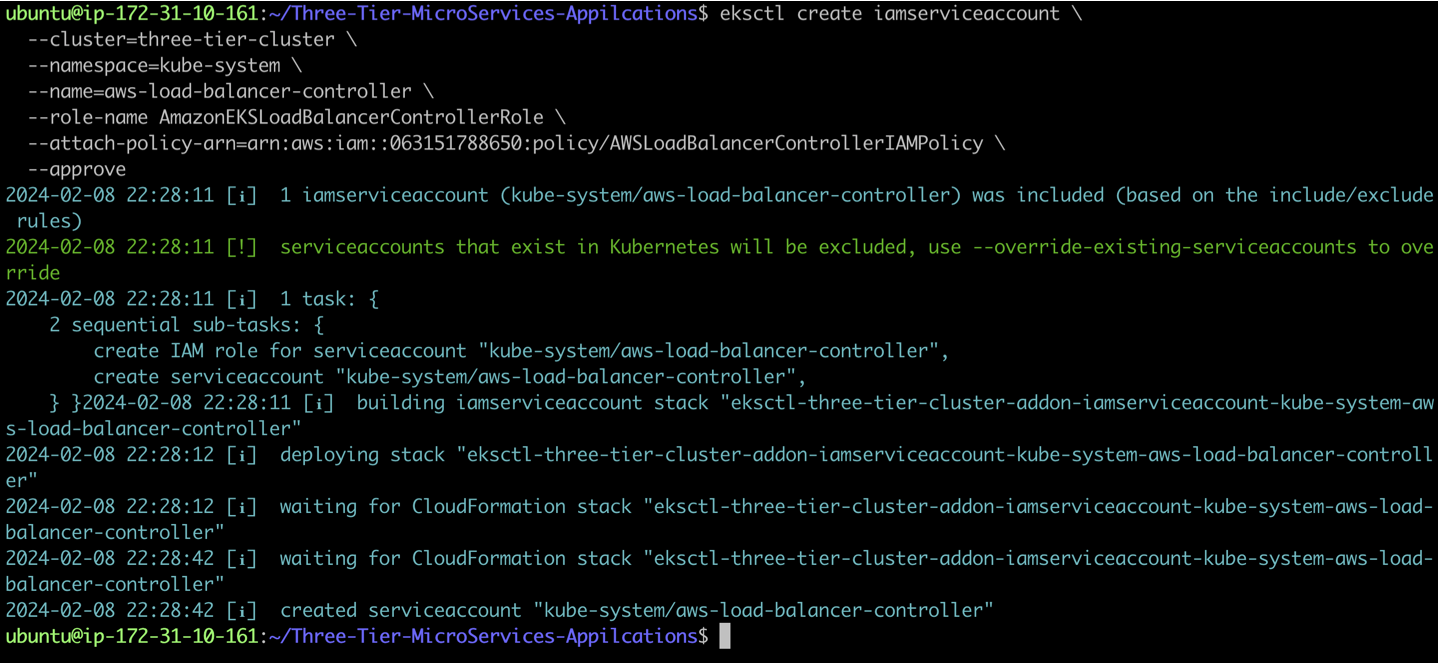
Create IAM Role:
Set up the IAM role for the ALB Controller, attaching the policy created in the previous step.
eksctl create iamserviceaccount \
  --cluster=three-tier-cluster \
  --namespace=kube-system \
  --name=aws-load-balancer-controller \
  --role-name AmazonEKSLoadBalancerControllerRole \
  --attach-policy-arn=arn:aws:iam::685720225280:policy/AWSLoadBalancerControllerIAMPolicy \
  --approve
Deploy ALB Controller:
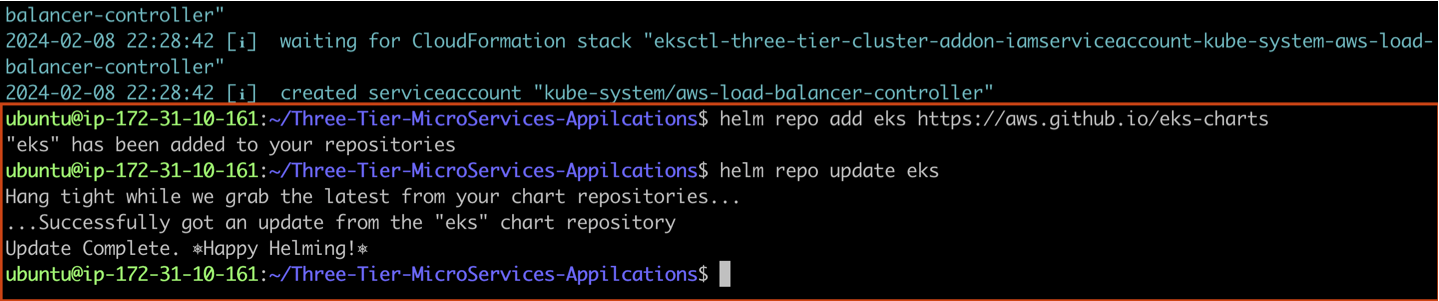
Use Helm to deploy the AWS Load Balancer Controller. Start by adding the EKS Helm repo.
helm repo add eks https://aws.github.io/eks-charts
#Update the Helm repo to ensure you have the latest charts.
helm repo update eks
Update the VPC_ID in the following command after retrieving the VPC ID from EKS

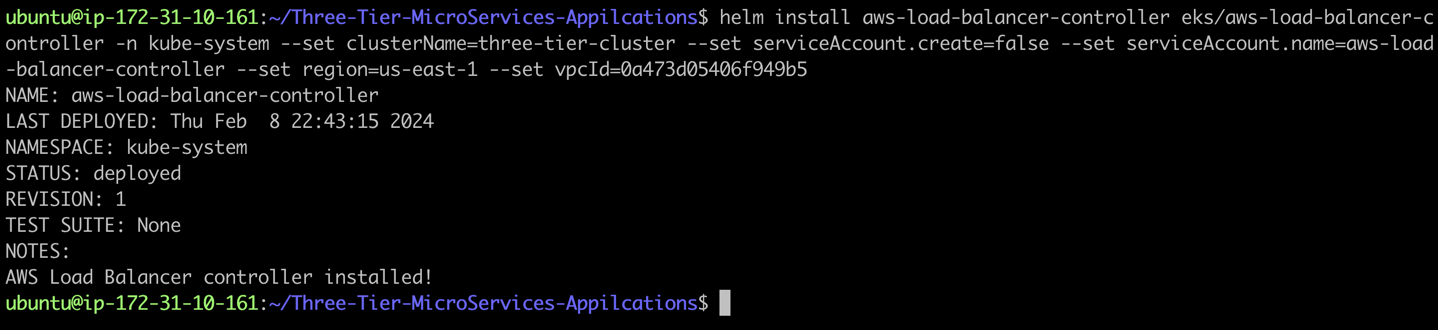
Finally, install the AWS Load Balancer Controller, ensuring you provide necessary configuration details such as your cluster name, AWS region, and VPC ID.
 helm install aws-load-balancer-controller eks/aws-load-balancer-controller \
    -n kube-system \
    --set clusterName=<your-cluster-name> \
    --set serviceAccount.create=false \
    --set serviceAccount.name=aws-load-balancer-controller \
    --set region=<region> \
    --set vpcId=<your-vpc-id>
Verification:
Confirm that the deployments are running successfully by checking the AWS Load Balancer Controller deployment in the kube-system namespace.
kubectl get deployment -n kube-system aws-load-balancer-controller

EBS CSI Plugin configuration
The Amazon EBS CSI plugin requires IAM permissions to make calls to AWS APIs on your behalf.
Create an IAM role and attach a policy. AWS maintains an AWS managed policy or you can create your own custom policy. You can create an IAM role and attach the AWS managed policy with the following command. Replace my-cluster with the name of your cluster. The command deploys an AWS CloudFormation stack that creates an IAM role and attaches the IAM policy to it.
To enable the Amazon EBS CSI plugin and empower it with the necessary IAM permissions, follow these steps for a smooth configuration within your EKS cluster.
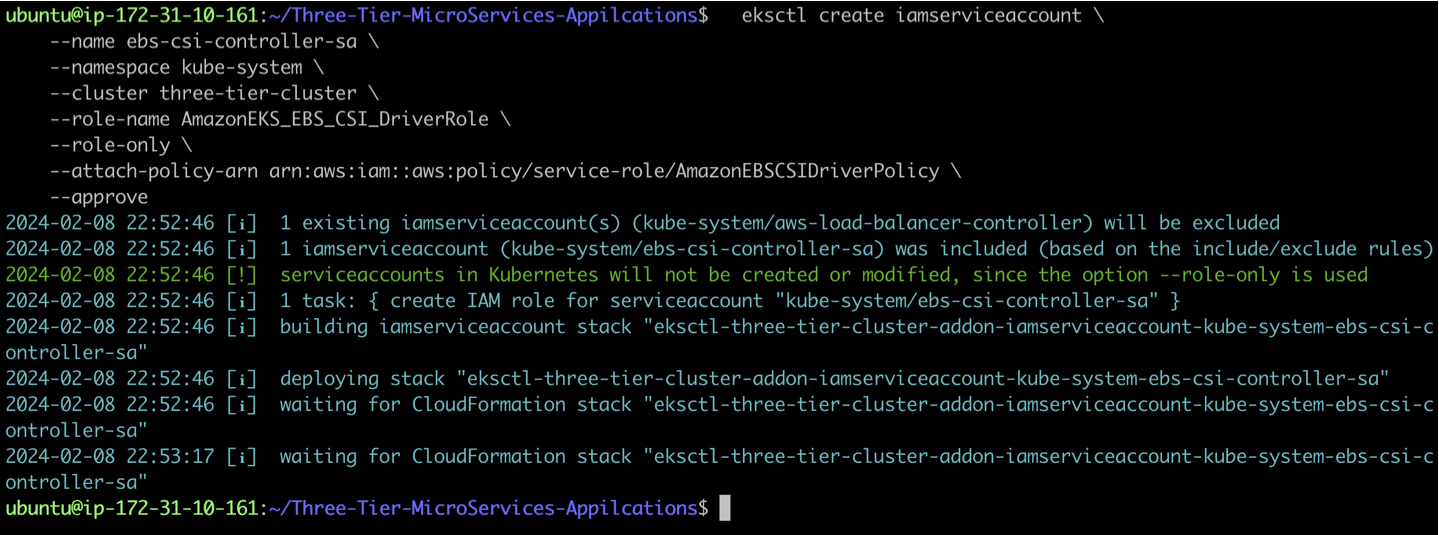
Create IAM Role and Attach Policy:
Begin by creating an IAM role specifically for the EBS CSI plugin, and attach the required policy. This policy grants the essential permissions for the plugin to interact with AWS APIs on your behalf.
 eksctl create iamserviceaccount \
    --name ebs-csi-controller-sa \
    --namespace kube-system \
    --cluster three-tier-cluster \
    --role-name AmazonEKS_EBS_CSI_DriverRole \
    --role-only \
    --attach-policy-arn arn:aws:iam::aws:policy/service-role/AmazonEBSCSIDriverPolicy \
    --approve
Run the following command. Replace with the name of your cluster, with your account ID.
eksctl create addon --name aws-ebs-csi-driver --cluster three-tier-cluster --service-account-role-arn arn:aws:iam::063151788650:role/AmazonEKS_EBS_CSI_DriverRole --force
Deploying Robot Shop Project with Helm Chart
To streamline the deployment of the Robot Shop project, we leverage Helm, Kubernetes' package manager. This allows us to encapsulate and manage all the Kubernetes resources efficiently.
Now Go inside the helm and create a namespace
cd Three-Tier-MicroServices-Appilcations/EKS/helm

create namespace:
kubectl create ns robot-shop


Install Helm Chart:
helm install robot-shop --namespace robot-shop .
Executing this command deploys the entire Robot Shop project, utilizing the Helm chart to manage each component seamlessly.

All Kubernetes resources for the project are organised in the templates folder, with values managed through the values.yaml file. This structured approach facilitates easy management and customization.
Now time for pod checking , weather our pod running nor not:
kubectl get pods -n robot-shop
Our pods are not yet all running; the status shows "container creating." This means we need to wait a bit longer. Let's give it 2 to 3 minutes.
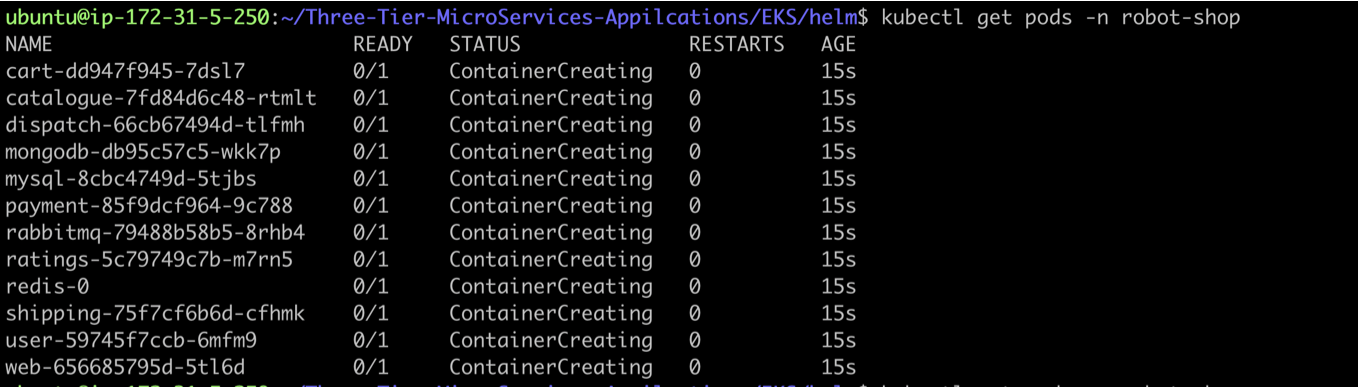
After that, we'll run the pods command again to check. Now, let's verify the status of all our pods by executing the pods command.

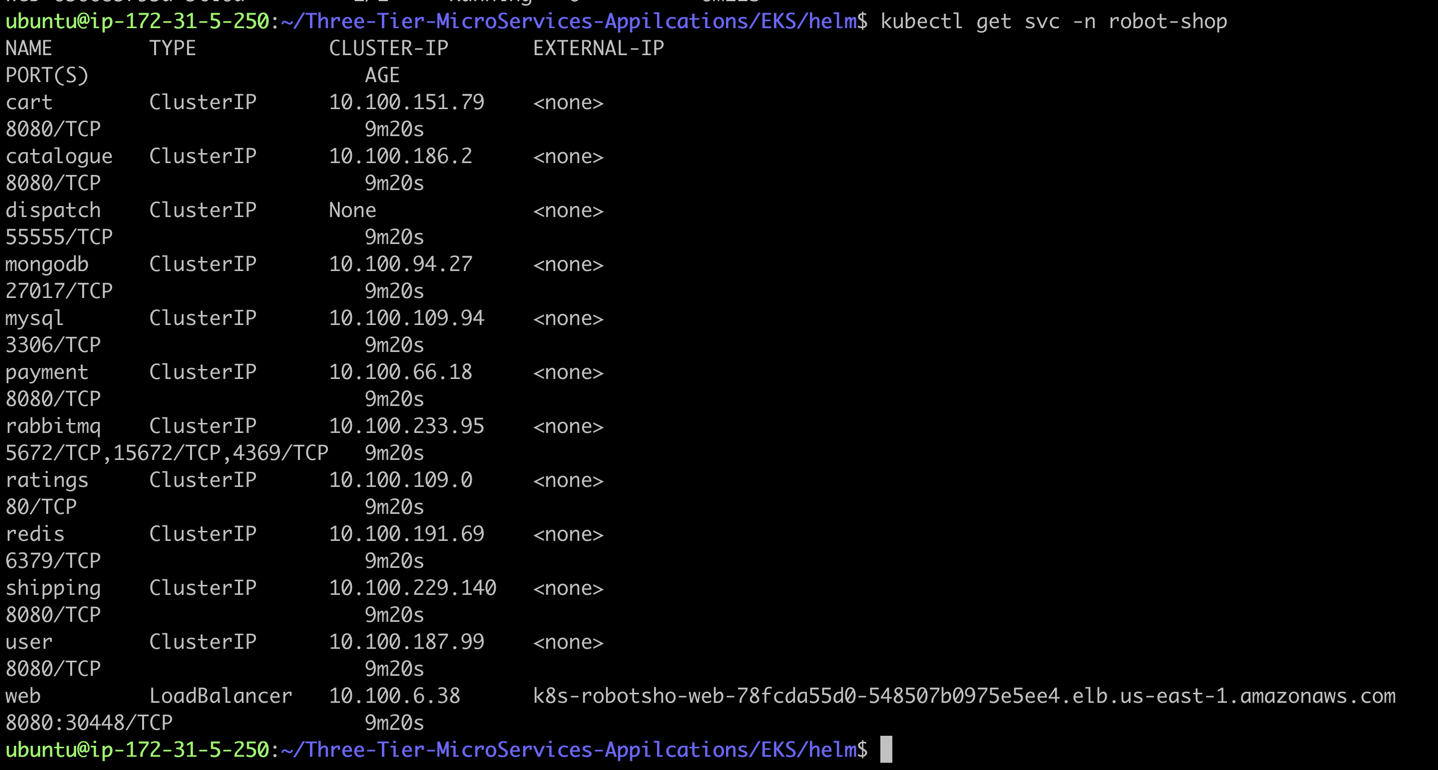
Check service
Once done, we'll proceed to check our service using the following command.
kubectl get svc -n robot-shop
Apply Ingress
kubectl apply -f ingress.yaml
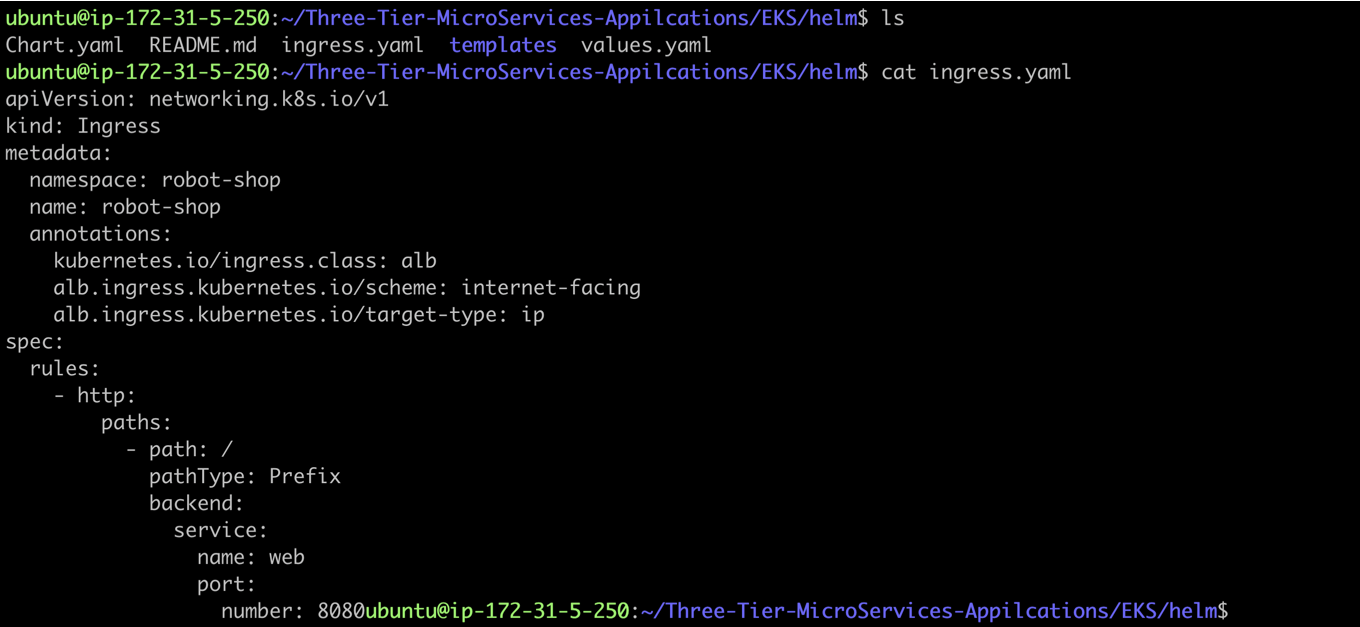

This command applies the Ingress resource configuration, allowing external access to the Robot Shop application.

After applying the Ingress resource, it is assigned an address. However, please note that the Load Balancer may still be in the provisioning state. Access to the application will be available once the Load Balancer status is active.

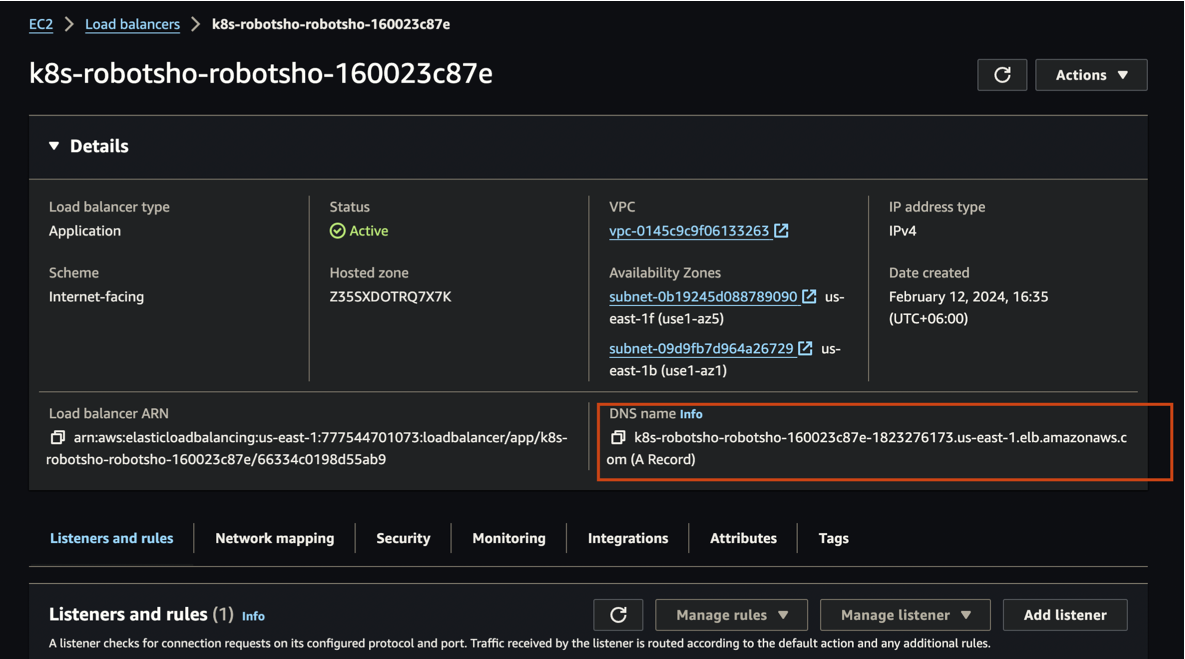
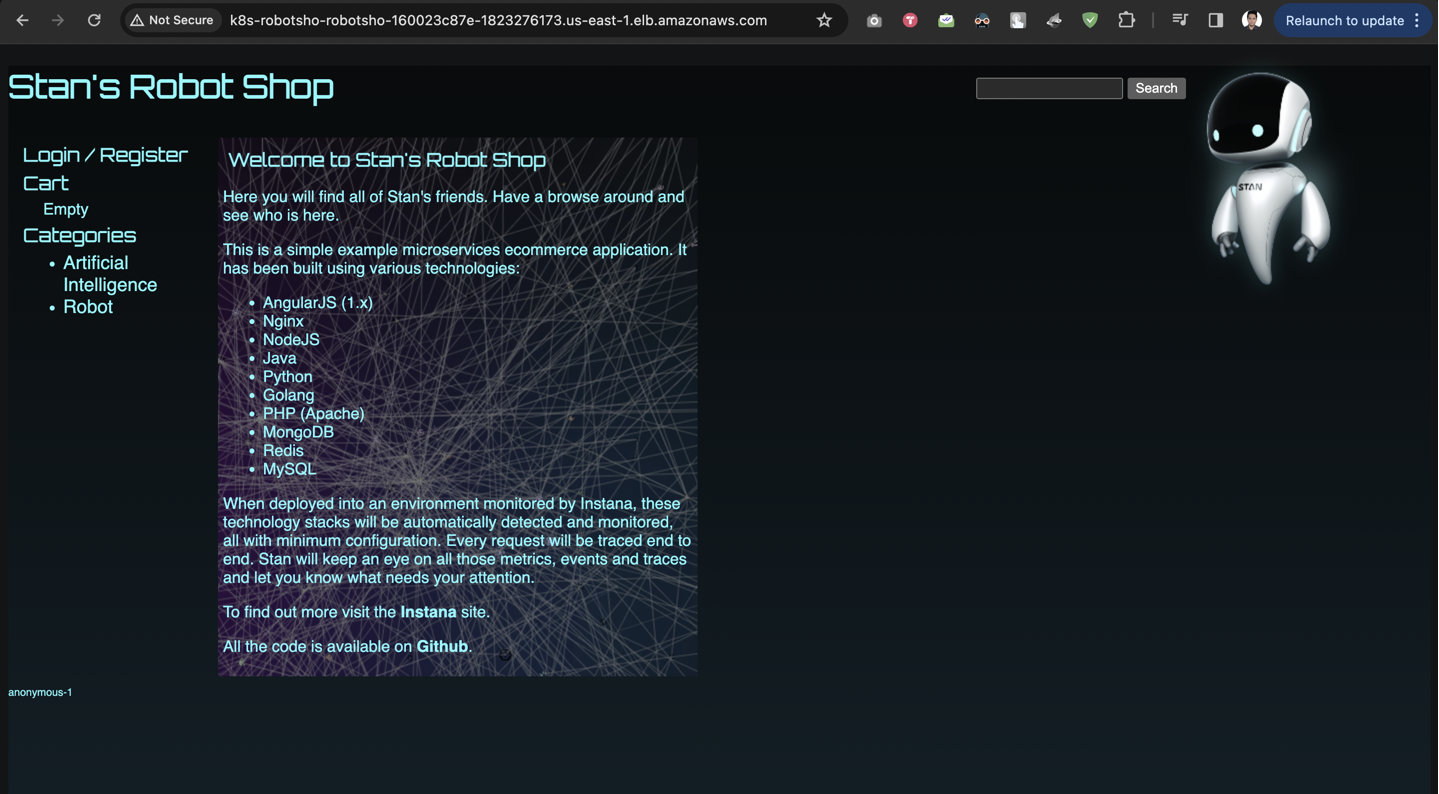
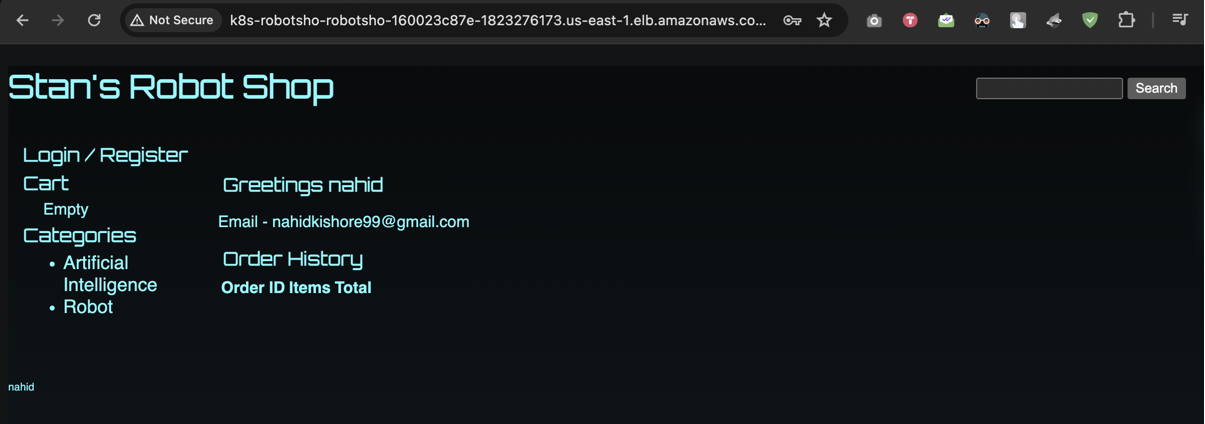
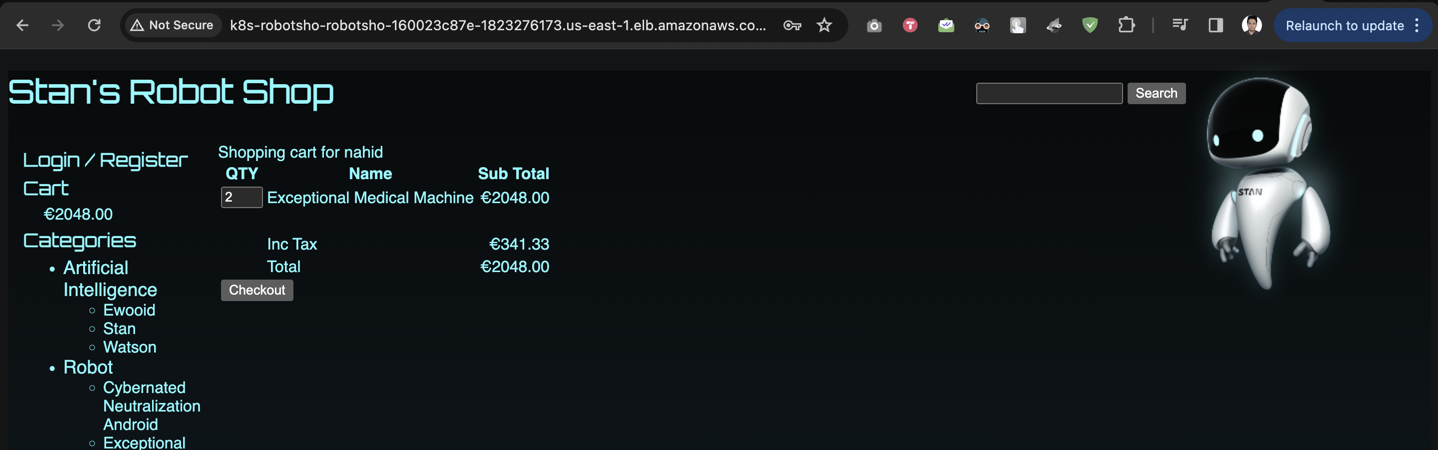
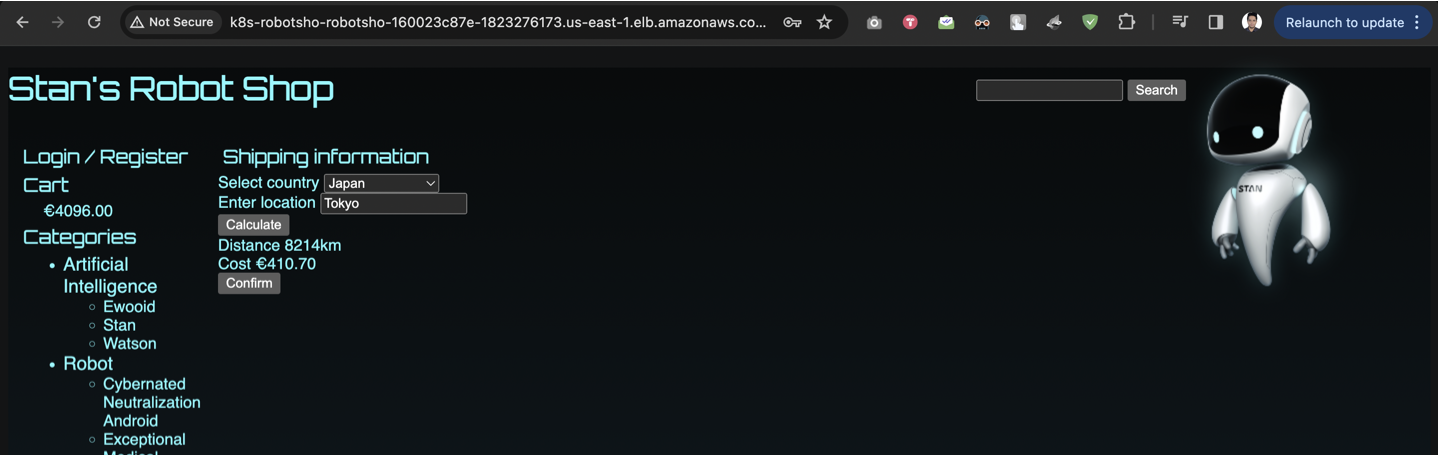
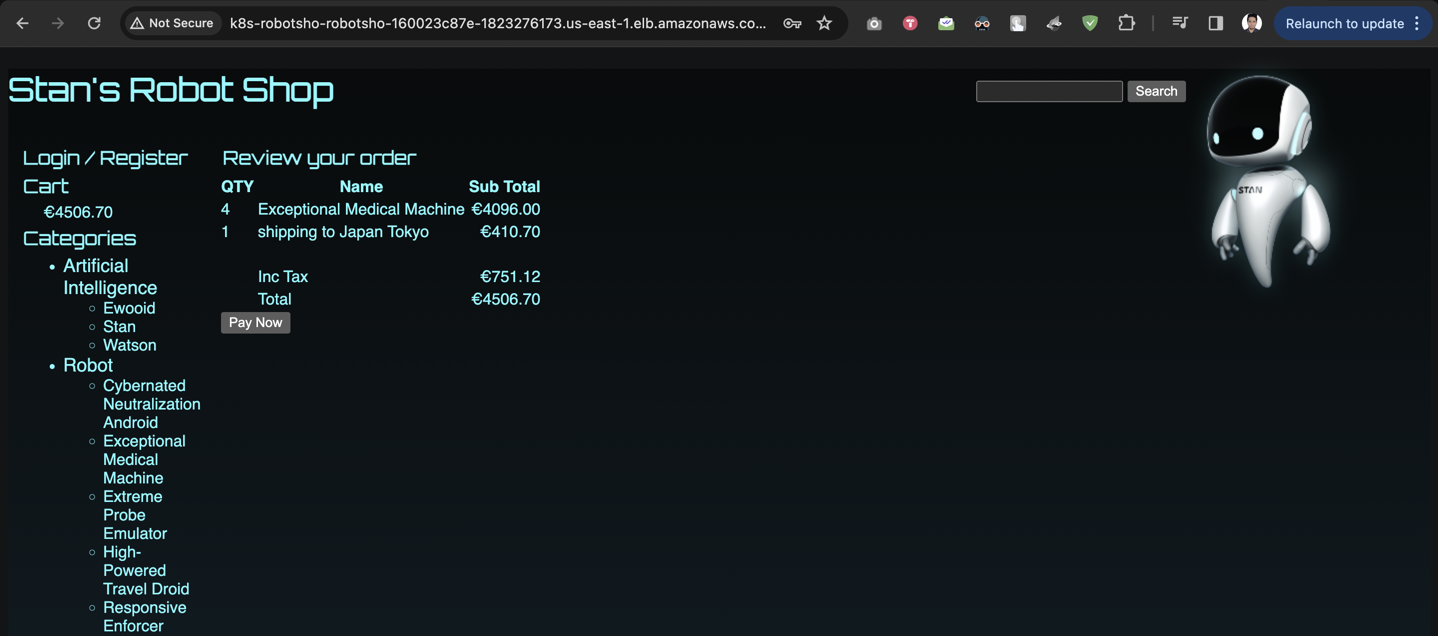
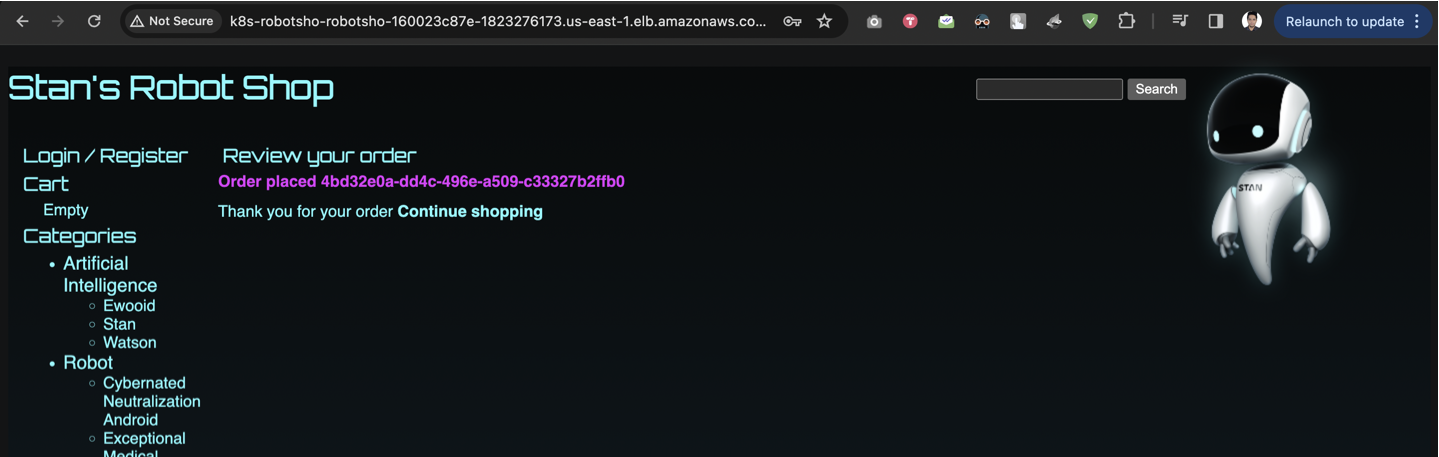
Now, we'll copy the DNS name URL and paste it into our favourite browser. After that, we'll see our application displayed. Next, we'll check if our application's functionality is working properly. So, we'll register, log in, add some products to the cart, and adjust the quantity. All these functionalities seem to be working properly.
DELETE CLUSTER
We will simply execute the command below to delete our cluster. It may take 10 to 15 minutes for the cluster to be deleted
eksctl delete cluster --name three-tier-cluster --region us-east-1
Following these processes, we have successfully deployed the Robot Shop microservices e-commerce application. In this project, we applied Helm chart and Kubernetes orchestration for deployment.
In conclusion, our project showcases a successful deployment of the Robot Shop microservices e-commerce application using Helm chart and Kubernetes orchestration. We've effectively utilized AWS services like EKS, IAM, ALB, and EBS CSI to create a robust and scalable infrastructure. This deployment ensures seamless functionality of the application, from registration to product management. The step-by-step process employed guarantees a structured and replicable deployment for future projects.