
Unlocking the Power of Docker: A Comprehensive Guide to Volume, Compose, and Swarm


In this article, we will embark on an exciting journey into the depths of Docker Volume, Docker Compose, and Docker Swarm. These powerful tools are essential for managing, scaling, and orchestrating containerized applications, enabling you to optimize your Docker environment and enhance productivity.
Docker Volume
When we make any modification in the project, it will not cause any change in the docker container. If we run again with docker build then it will update. But if you want to see the change with the run command, you have to integrate the docker volume.
A Docker volume is a mechanism that allows data to persist beyond the lifetime of a Docker container. Volumes provide a way to store and share data between containers or between a container and the host system. When you create a Docker volume, you can mount it as a directory within a container, and any changes made to that directory will be persisted even after the container is stopped or deleted.
Docker volumes are a useful tool for managing data in containerized applications. For example, you might use a volume to store a database's data files or to share configuration files between containers. Docker volumes can also be encrypted or backed up, and can be managed independently of the containers that use them.
Let's do some hands-on for better understanding.
Log in to your AWS EC2 console on your Ubuntu machine.
Install Docker on your Ubuntu instance by running the following commands:
sudo apt-get update && sudo apt-get install docker.io -y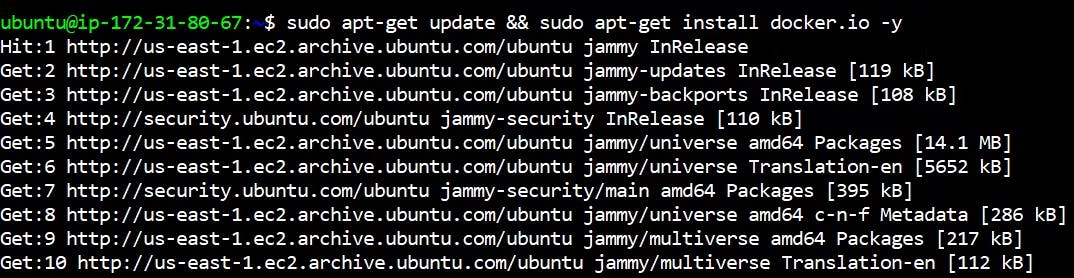
Check docker is active or not using this following command
systemctl status docker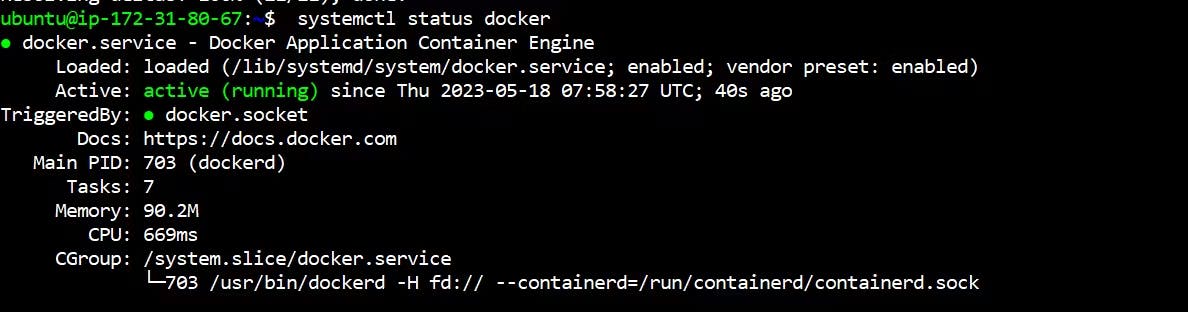
Clone the code from the provided GitHub repository by running the following command:
git clone https://github.com/nahidkishore/django-todo-app-docker.git
Add your current user to the Docker group using the following command:
 sudo usermod -a -G docker $USER
 sudo reboot
Navigate to the django-todo-app-docker directory using the cd command.

Create a new file named Dockerfile in this directory using the vim command, and open it.
Using the cat command shows docker file codevim Dockerfile
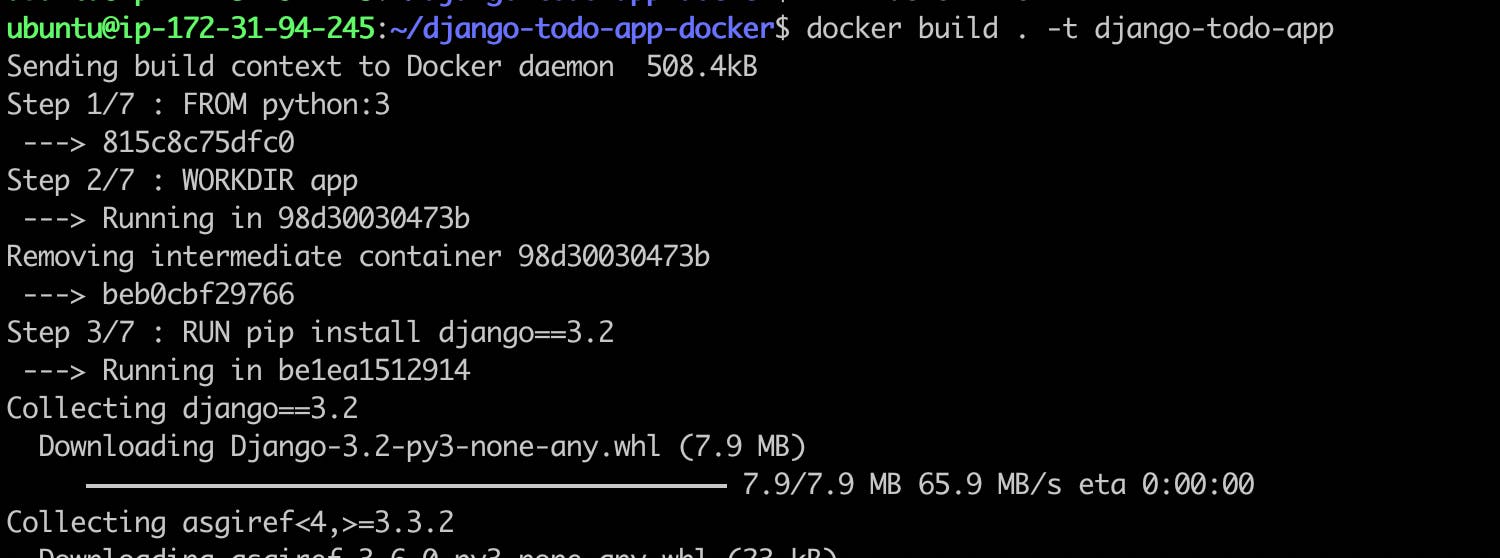
Build the Docker image using the following command:
docker build . -t django-todo-app
- Check image create or not using the docker image command
docker images

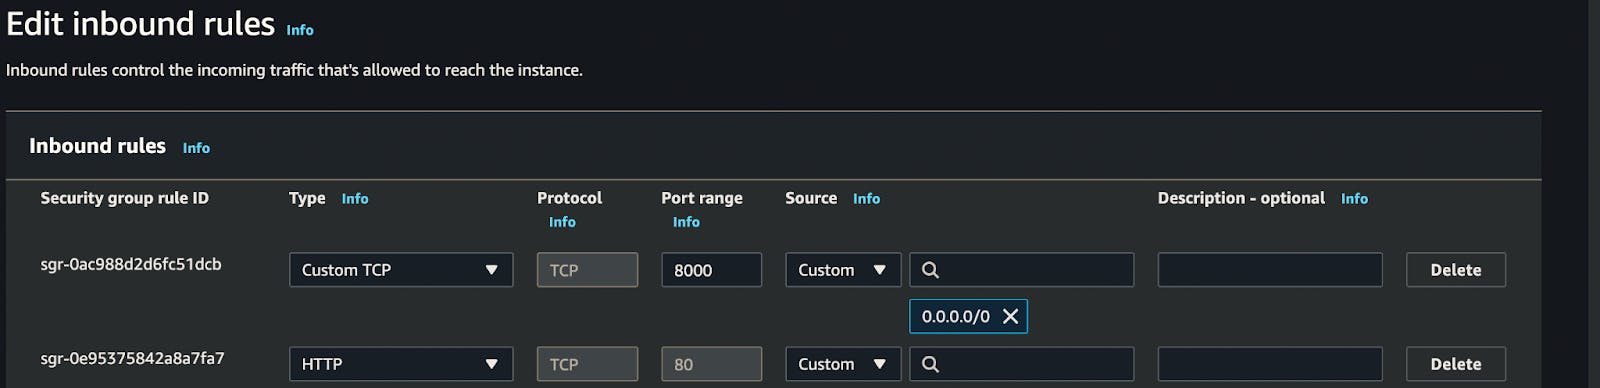
- After the image build, just go to your ec2 instance and select your running instance.
click security group and add port range on the inbound rule.
For example→ in my case, I have added a 8000 port range inbound rule

- Once the image is build, you can start a new Docker container using the following command:
docker ps: To check container is running or not
docker run -d -p 8000:8000 django-todo-app:latest
docker ps

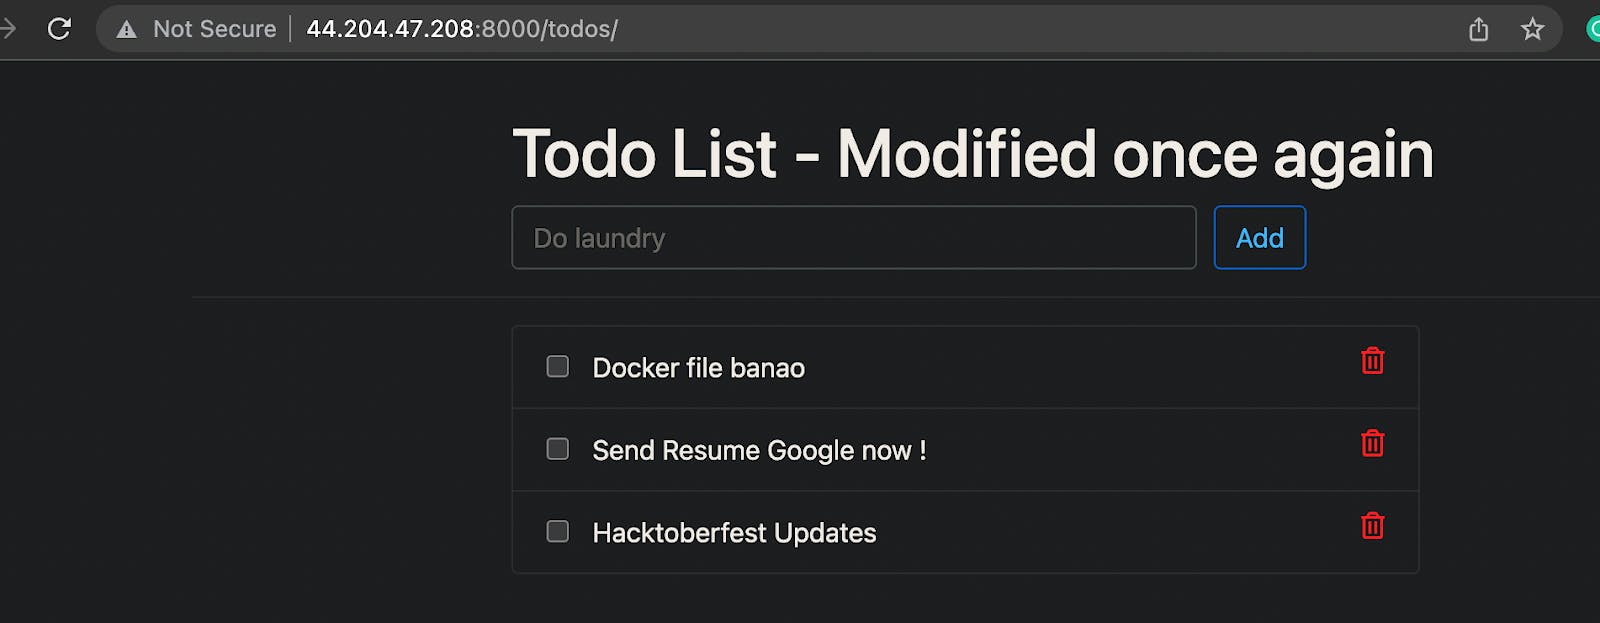
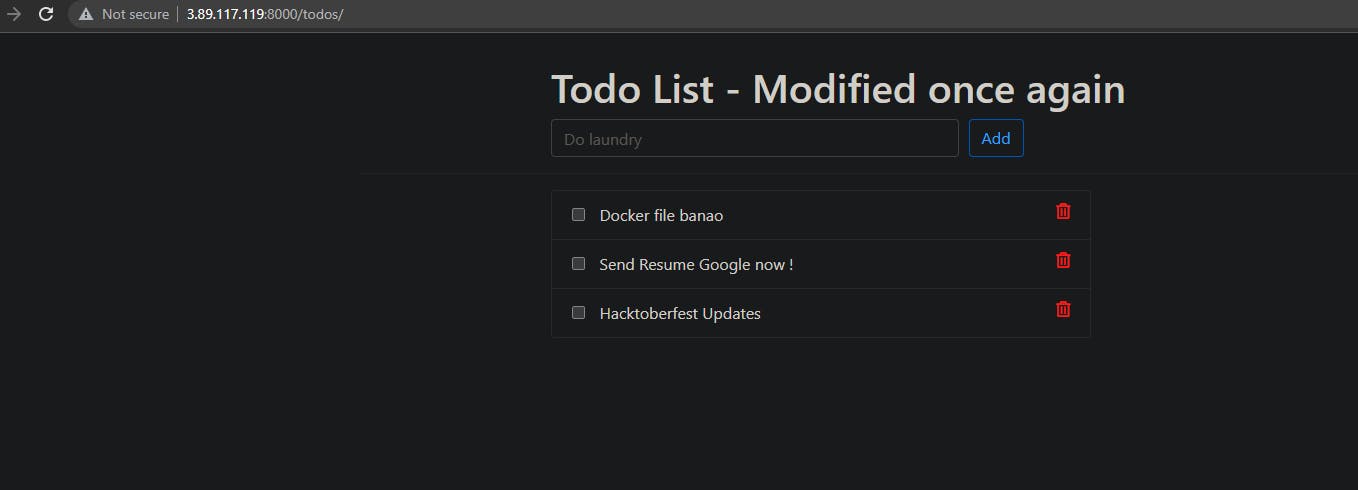
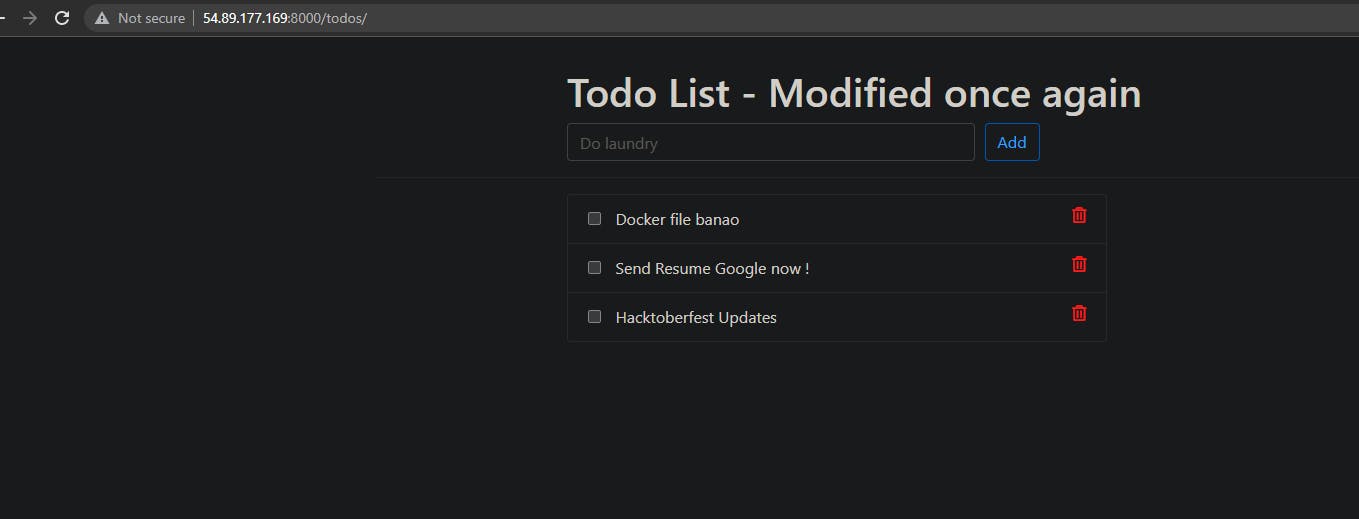
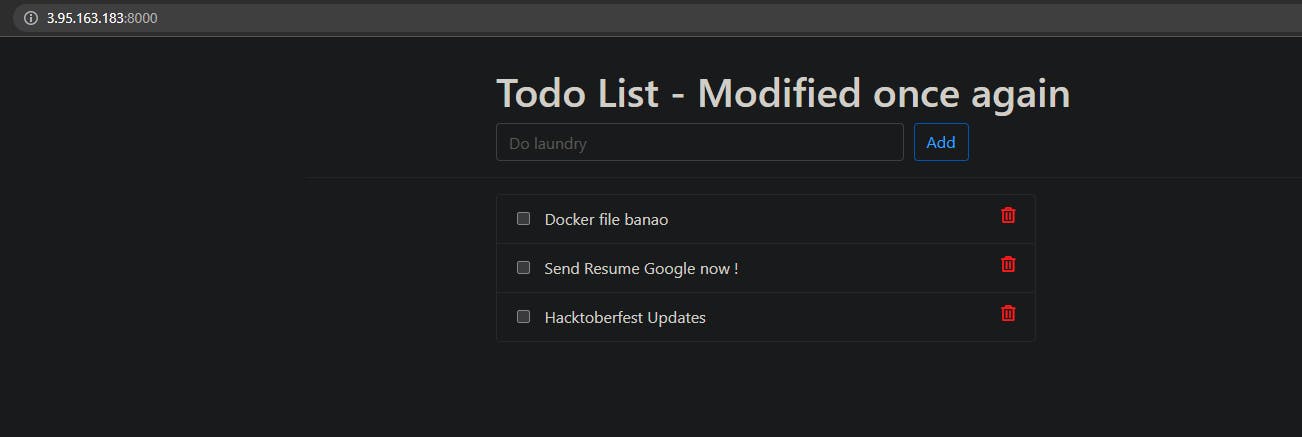
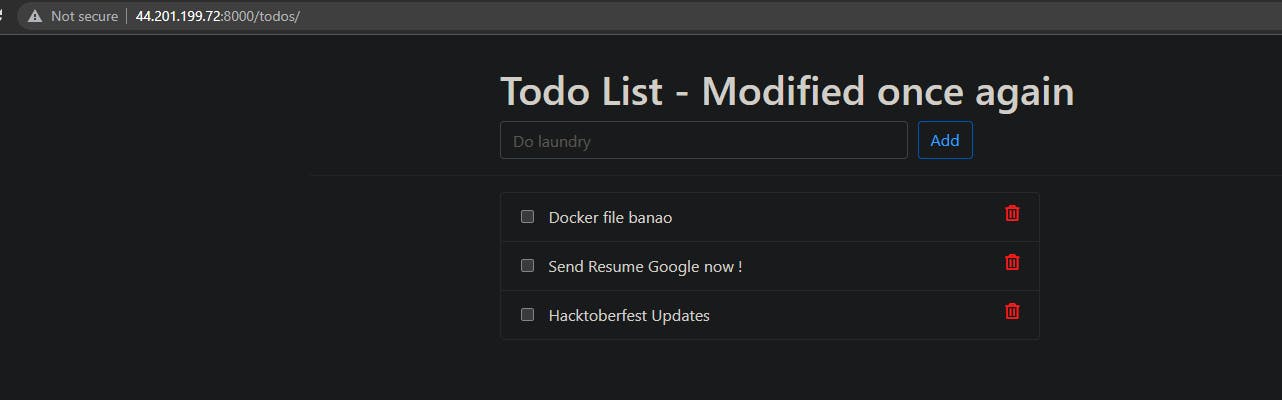
- Verify that the application is working as expected by accessing it in a web browser.
Now you can take the public IP of the machine and port 8000 to access the application. (make sure from security bound rules port 8000 is accessible for EC2 instance)
- Now I will move to my Working directory of the application.
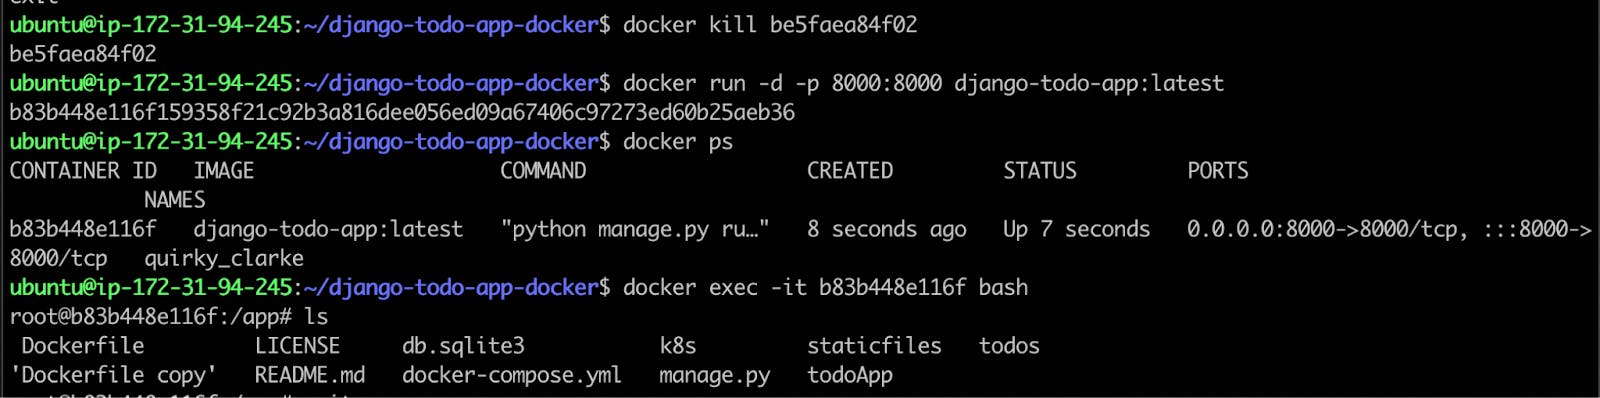
docker exec -it containerID bash

- Suppose I have an Important file called test.log

- Due to any reason my container was deleted or stopped working.
docker kill containerID

- Again check container is running or not
docker ps

- I restarted my container and when I go to the application working directory the test.log file is missing, but It was very important.
This is a very horrifying thing if something(Data) is lost in the Production environment.
To deal with this issue we have to persist our data with the help of Volume.
How to do it?
Let's jump to the terminal....
First, we will create a directory where we want to store our data I have created the below directory and you can create it at your convenience anywhere in your system.

- Now we will create Volume with the below command.
docker volume create --name=django_todo_volume --opt type=none --opt device=/home/ubuntu/volumes/django-todo --opt o=bind

Here,
docker volume create : is command to create volume
--name django_todo_volume : is the name of the volume
--opt type=none : is type of the file
--opt device=/home/ubuntu/volumes/django-todo : path of the directory where volume will store the data
--apt o=bind : it will bind and update the data vise-versa
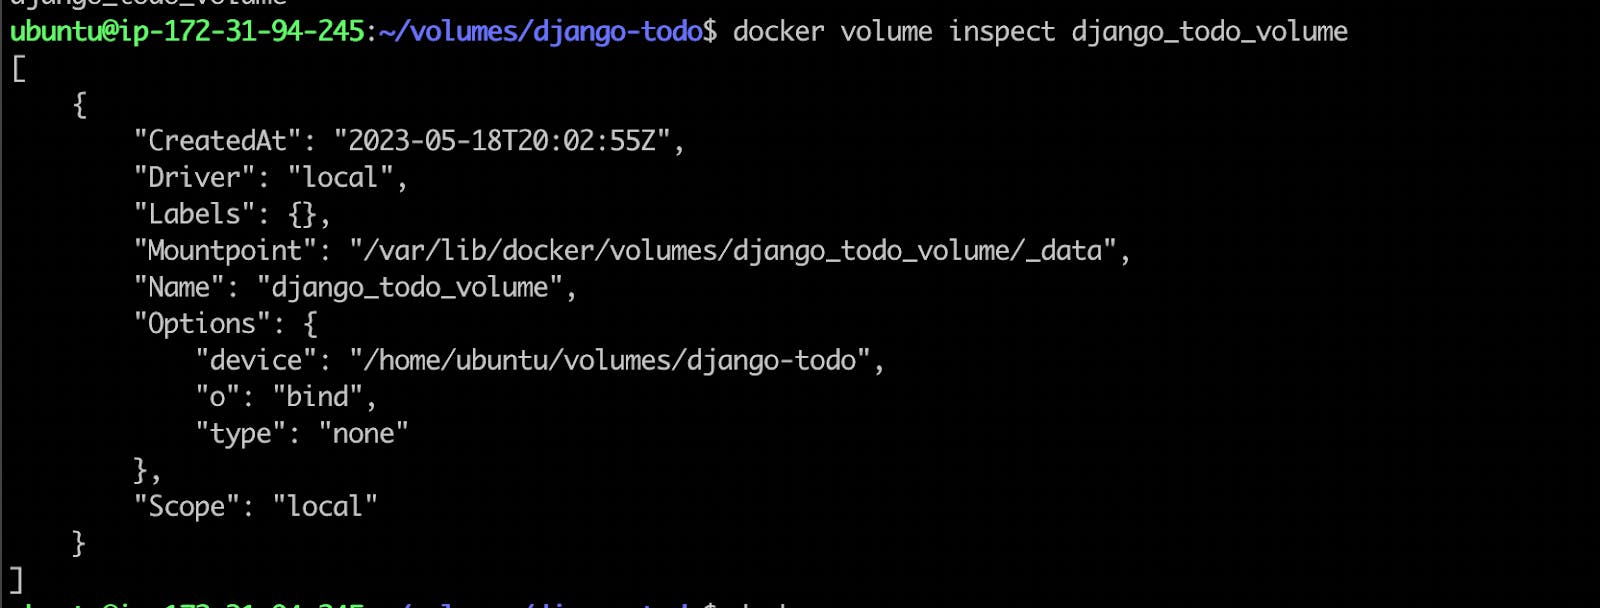
- You can inspect the volume with the below command.
docker volume inspect django_todo_volume
- I will kill my container now.

- Now I will run my container again but with some interesting twist.
docker run -d -p 8000:8000 --mount source=django_todo_volume,target=/app django-todo-app:latest
Here --mount : It refers you are mounting your volume, don't be confused source will be your volume and the target will be the working directory which is mentioned in Dockerfile.

- If I do ls in the volume directory you will see all the data from the app directory has been copied here.

Now, Let's create log.txt file in the app directory and after it will check the volume
BOOMMM see below the test.log file at both places.

- Now let's do just opposite, will create a file in the volume and will check if this will be in the app directory or not.
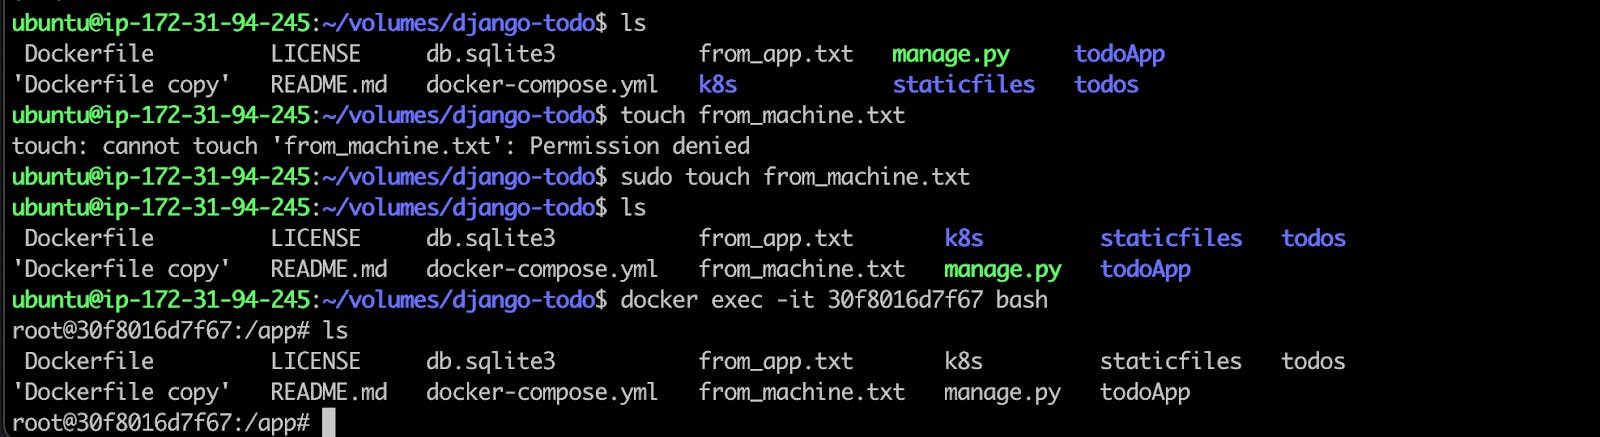
Yes, Its working vise-versa.
Booommmmmmm!!!!!!!
This is a Volume module in Docker, I hope you got a high-level understanding of the Volume, Right?
Docker Compose
So, lets talk about another important topic docker compose.
Why do we use Docker Compose???
When we run a docker image in docker-cli, we have to tell many things such as port or tag. Docker-compose is used to solve such network connection problems so that the complexity of the command line is reduced. Basically it is used to reduce the complexity of the command line.
It is also used to start up multiple docker containers and connect them very easily.
Docker Compose is a tool for defining and running multi-container Docker applications. It allows you to define a set of containers that make up your application and their relationships, configuration, and dependencies in a YAML file, making it easy to start up your entire application stack with a single command. With Docker Compose, you can orchestrate containers that are created from different Docker images, define network connections between them, and configure their shared environment variables, volumes, and other settings.
Using Docker Compose, you can easily manage complex multi-container applications, test and deploy them locally, and scale them up to production environments. It simplifies the process of configuring and deploying complex applications, by providing a unified way to manage multiple containers, services, and dependencies as a single entity.
Let's Jump to the terminal for a better understanding and create a docker-compose.yml file.
Your docker-compose is ready.
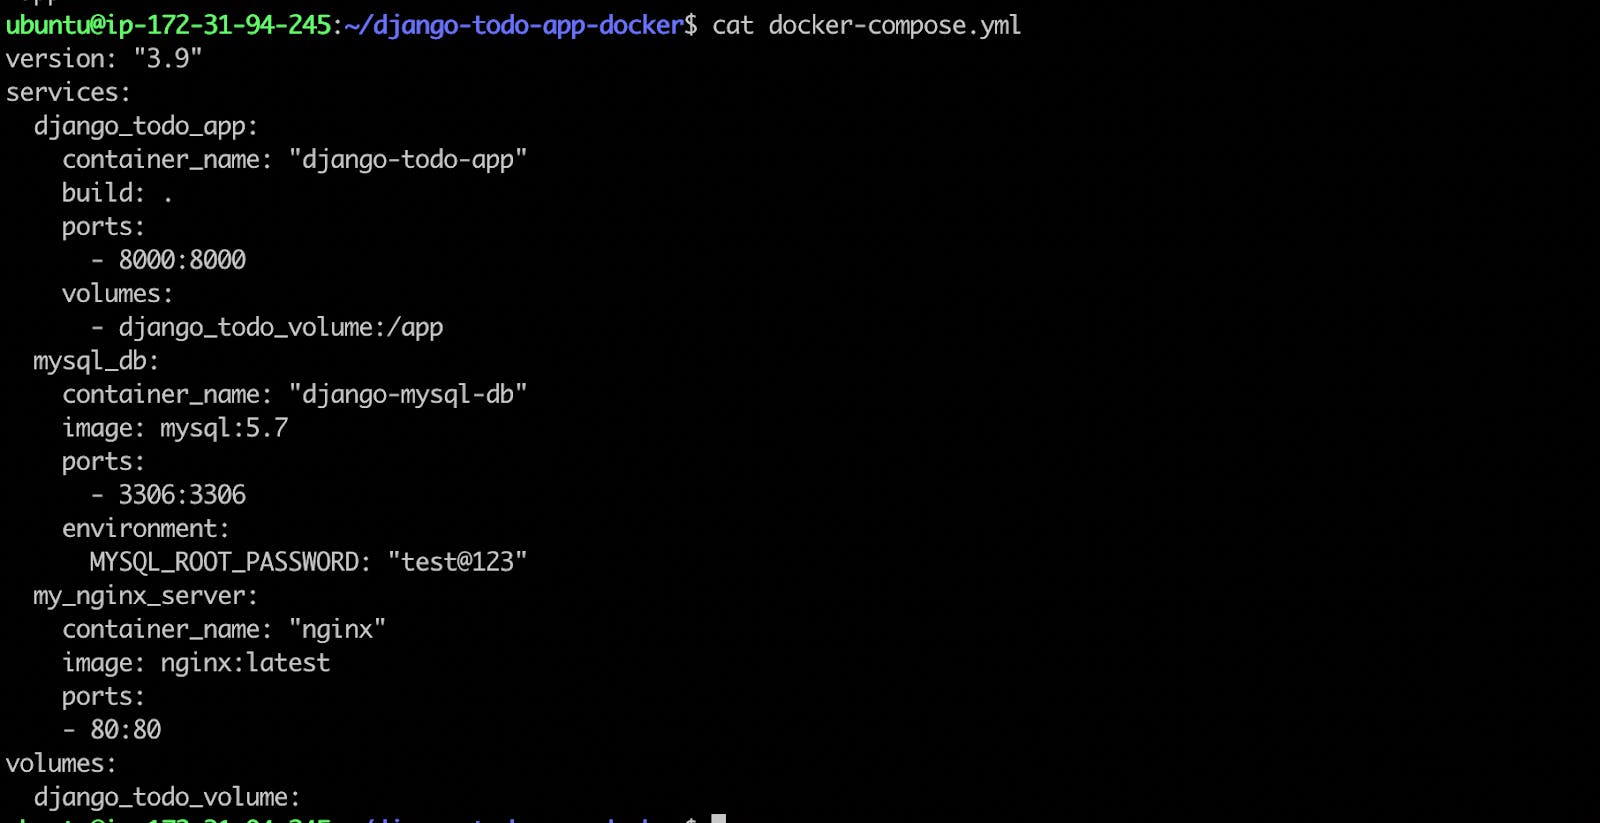
Basically, we have added the docker build and run commands together in a YAML file and will run it to do both tasks with one hit.
As per the YAML file , three services should start. Let's run the Docker-compose file.
Note: You should have docker-compose installed in your machine otherwise you will not be able to run docker-compose.yaml file.To install docker compose you can use below command.
sudo apt install docker-compose
- After installing docker compose , let's run docker-compose.yml file
docker-compose up
- Here is your running docker-cmpose.

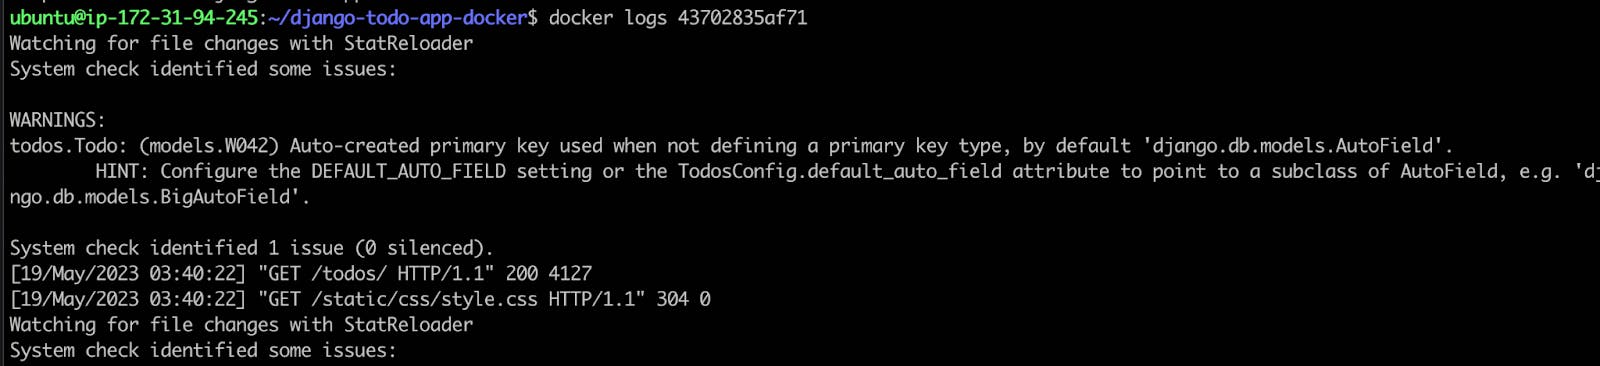
Note: If you want to see the docker log here is a command.
docker logs CONTAINERID
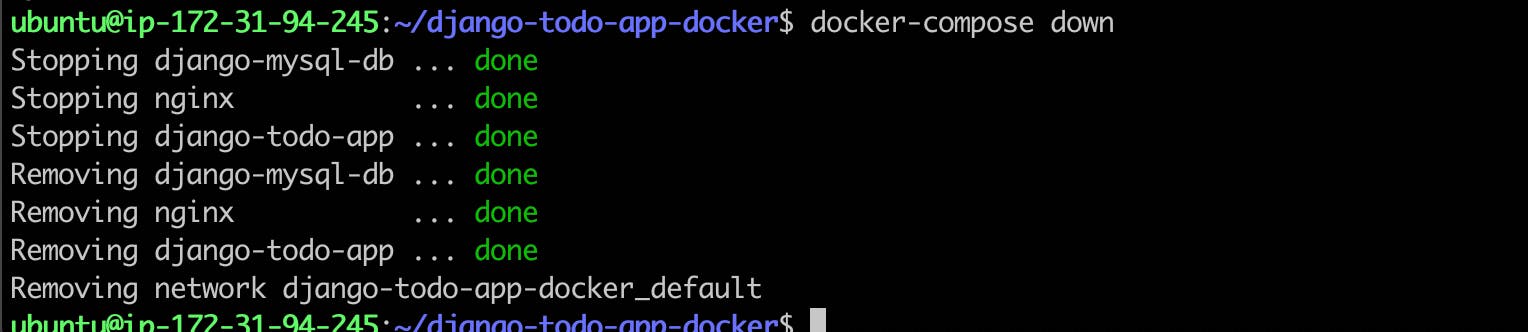
- if you want to stop all the containers you can use the below commands.
docker-compose down
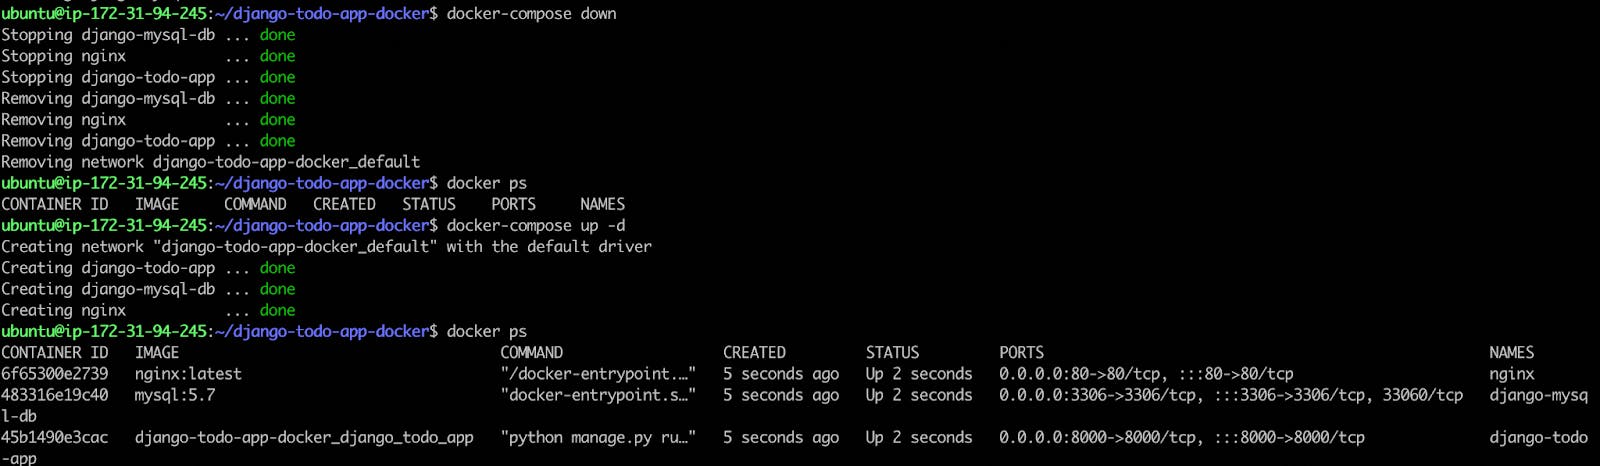
- Check container running or not using docker ps command
We see container not running, again we use docker-compose up command
Then see container is running.
docker-compose down
docker ps
docker-compose up -d
That's all about docker-compose section.
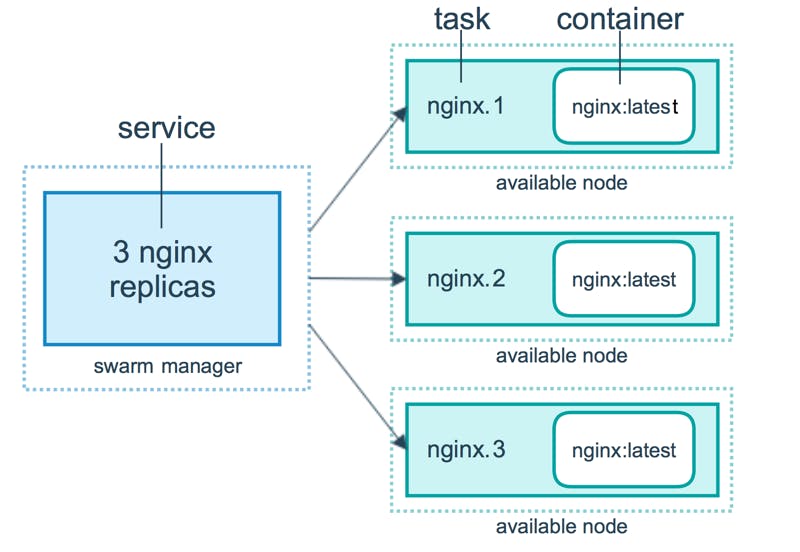
DOCKER SWARM
Docker Swarm is a container orchestration tool that allows you to manage a cluster of Docker nodes as a single virtual system. With Docker Swarm, you can deploy and manage containers across a group of Docker hosts, and scale applications up or down as needed.
Docker Swarm provides a set of tools for managing the entire lifecycle of a containerized application, including deployment, scaling, rolling updates, and failure recovery. It enables you to define and manage services, which are collections of containers that work together to provide a specific function or application.
Docker Swarm also provides built-in load balancing and service discovery, making it easy to route traffic to the appropriate containers. It also supports high availability, so that if a node in the cluster fails, the workload can be automatically redistributed to other nodes.
Overall, Docker Swarm simplifies the process of managing containerized applications at scale, and is a popular choice for deploying and scaling Docker-based applications.
For example: If you have an important container and it crashed due to any reason, you cannot revive that container again and we cannot replicate same container in other systems, to resolve this problem Docker Swarm comes into the picture.
Let's do some practical practices on Docker Swarm.
Let's create AWS instances to understand Docker Swarm.
Note I have used 4 AWS servers just and you can use as per your requirements.
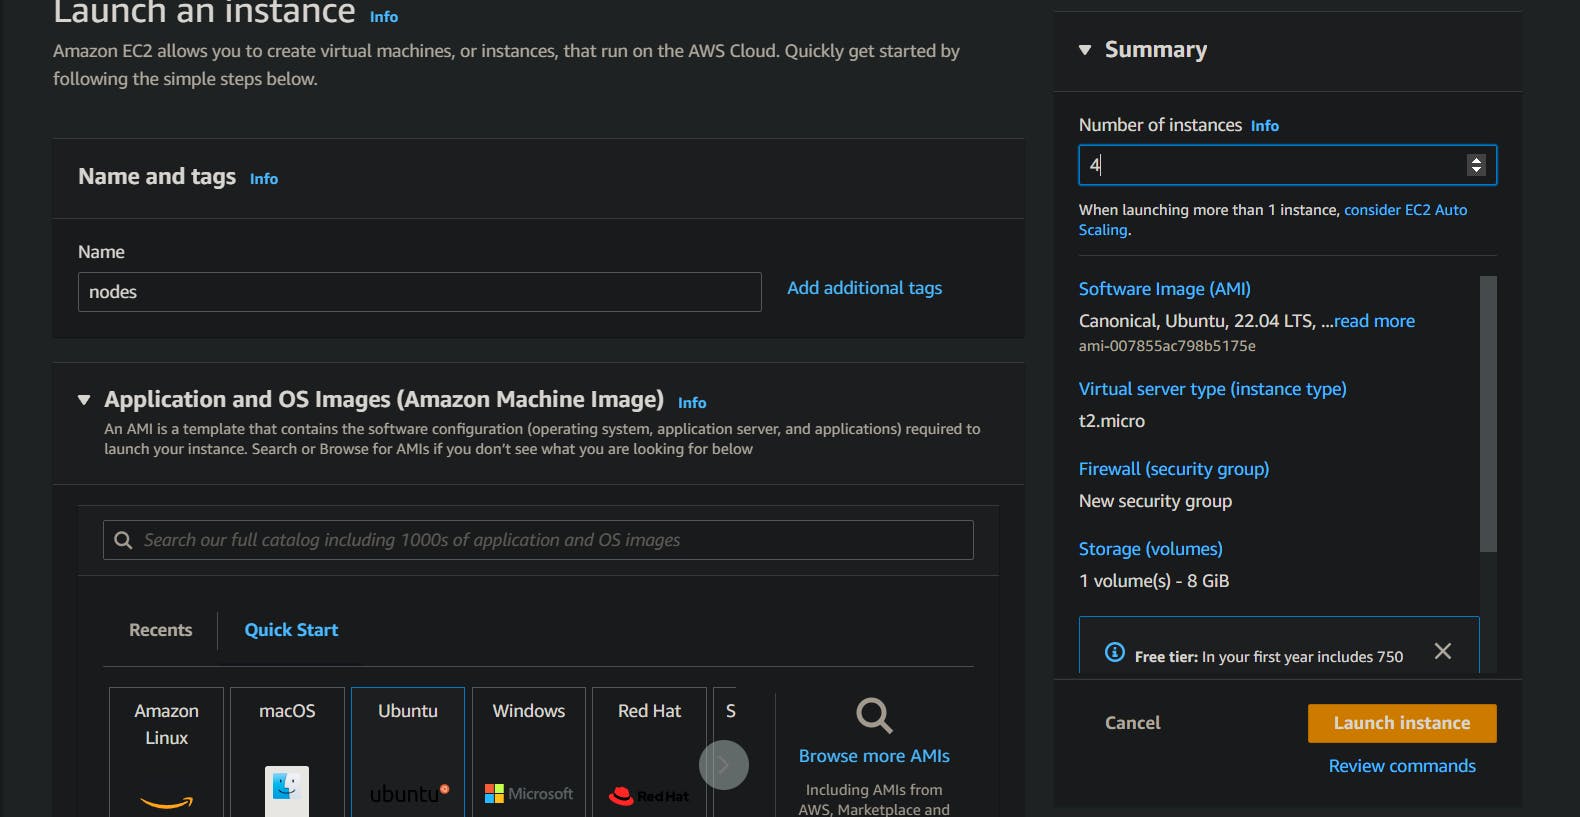
Now I will make one server Master and rest of the three as worker1, worker2, worker3.
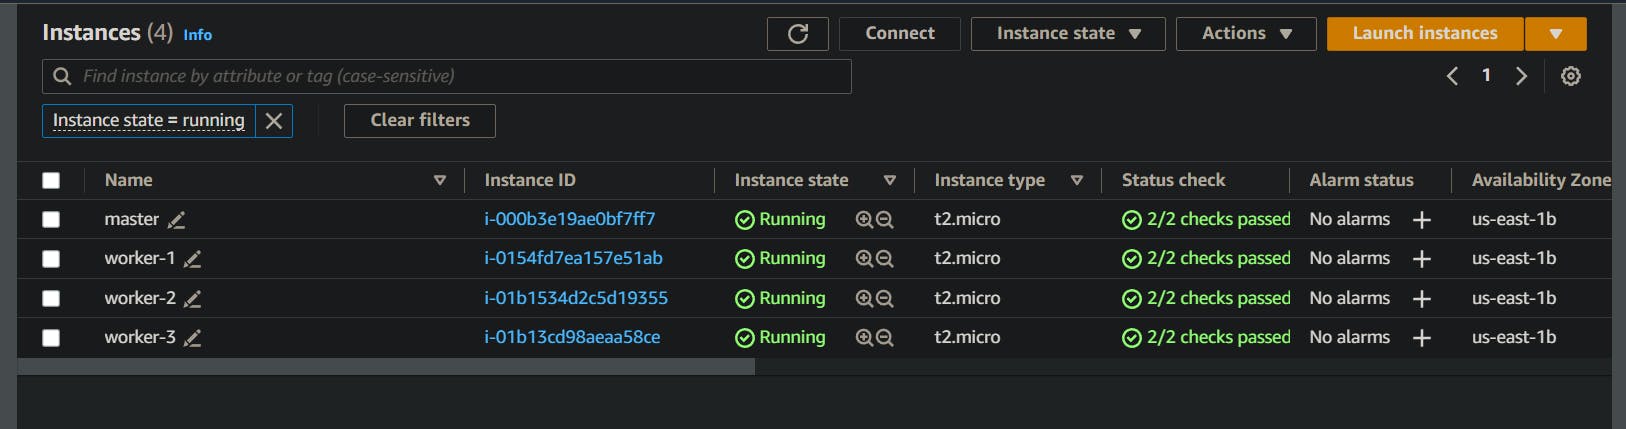
All my servers are like below.
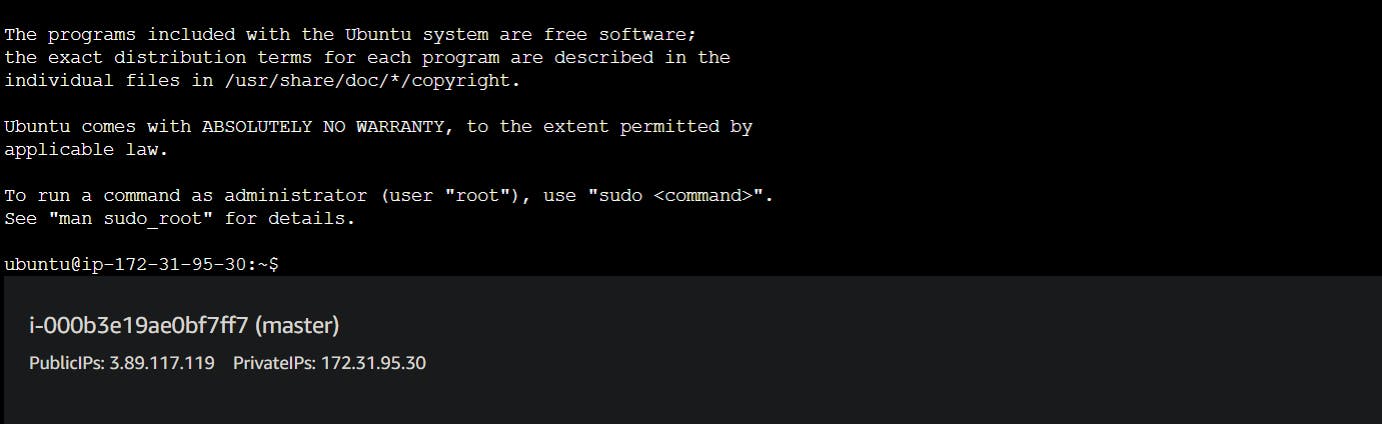
Master:
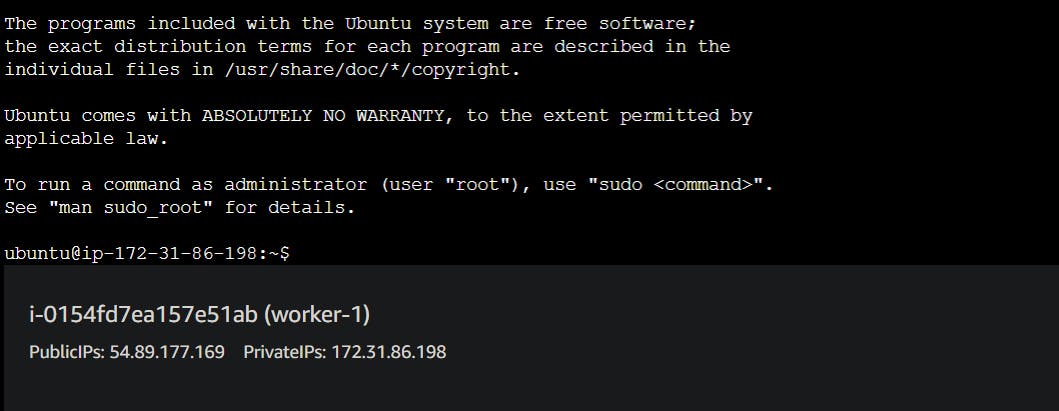
Worker-1:
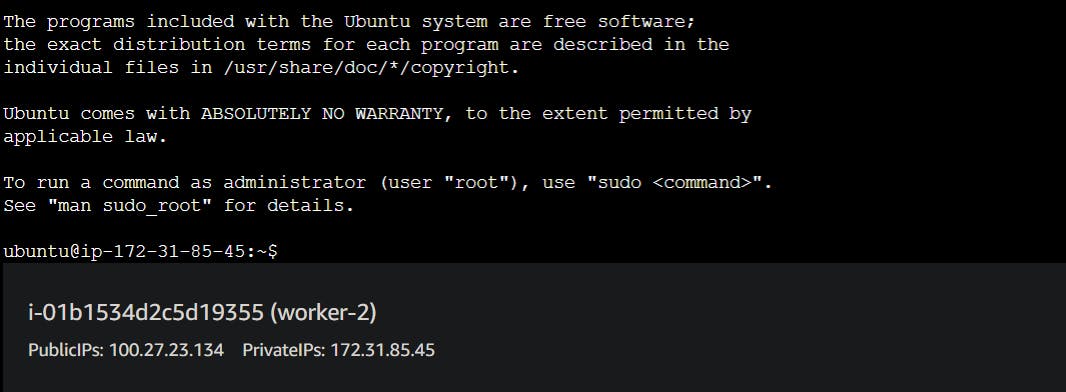
Worker-2:
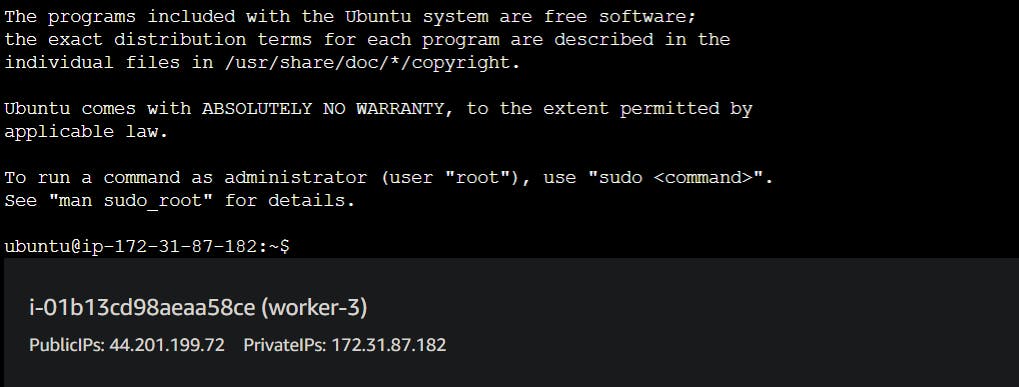
Worker-3:
Now I will update all four servers and install Docker with the below commands.
sudo apt-get update
sudo apt-get install docker.io -y
Also will give access to current users on master and workers also reboot the servers.
sudo usermod -aG docker $USER
sudo reboot
Now I will initialize Docker Swarm on my Master.
docker swarm init
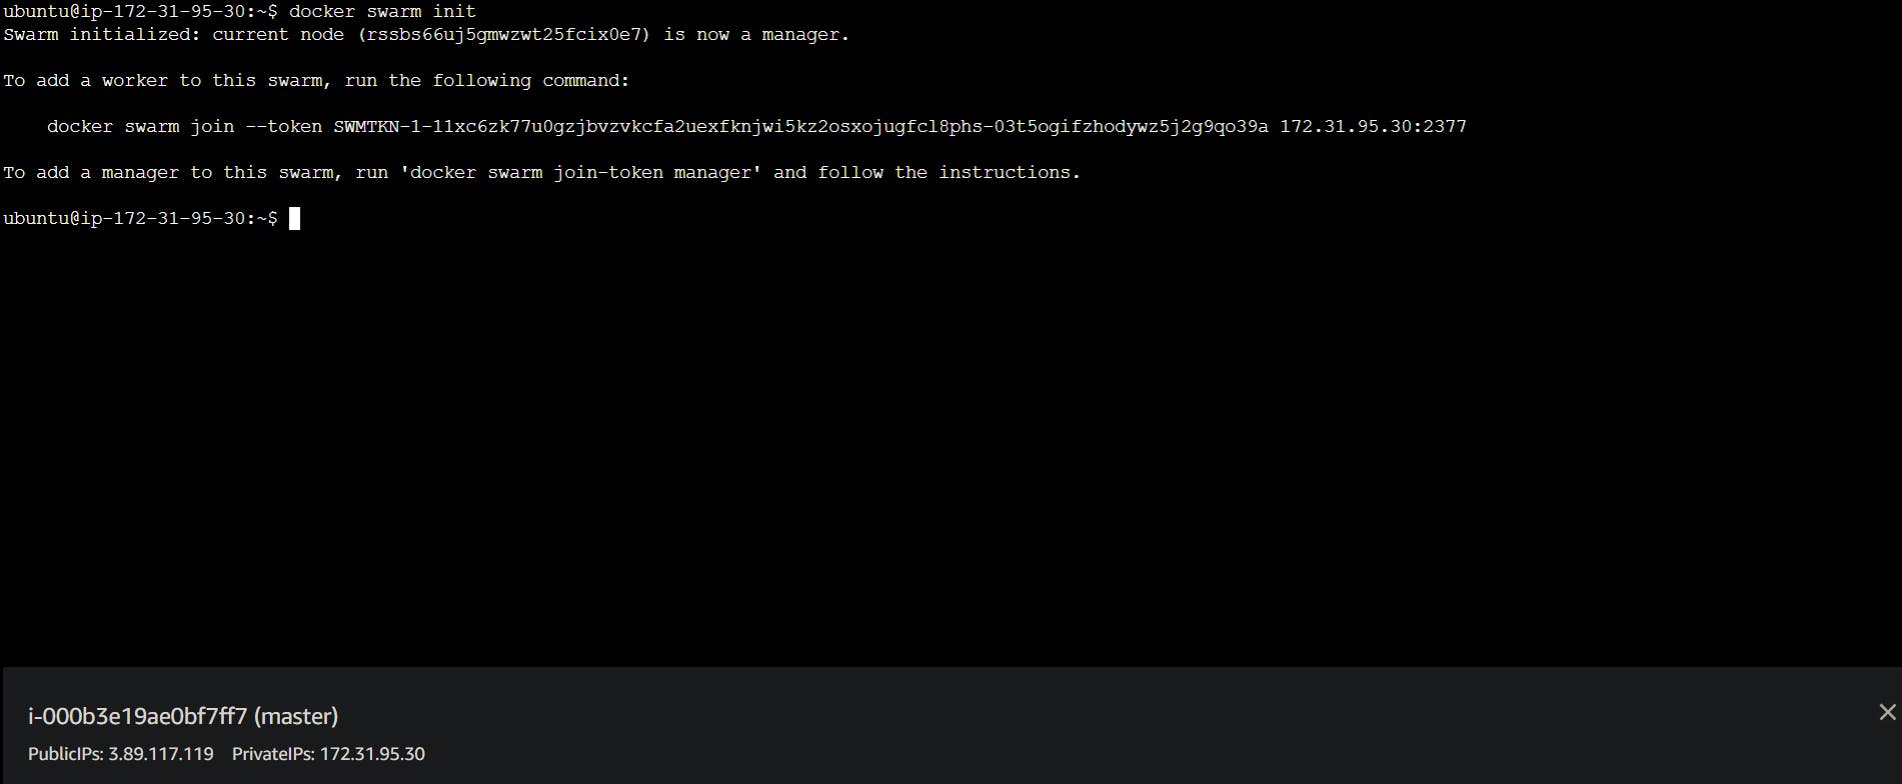
Now my main server is Master.
Now If you can see the above screenshot there is a token and asking to allow a port so now copy this ticket and allow the port.
I will go to my Master security group and will allow 2377 port here.
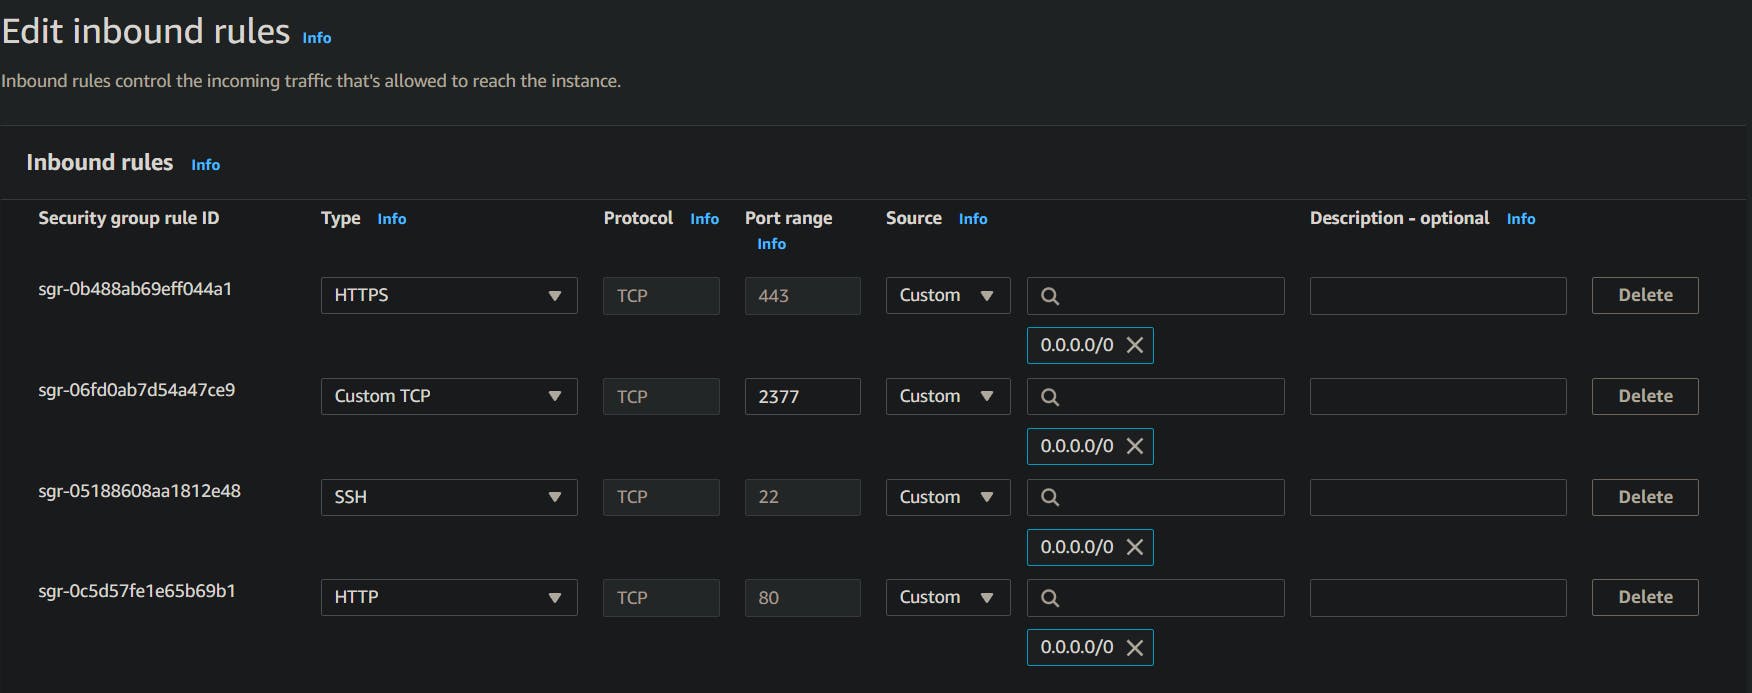
Now I will go to worker-1, worker-2, worker-3 and allow the same port here too.
Note: If you have used the same security group for all four servers then if you will allow any port/IP on one server it will be by default allowed for all the servers.
Now Let's join out Worker-1 as worker one . How? simple just paste the token on your worker's terminal and hit ENTER.
You will get a message as "This node joined a swarm as a worker."

Now, Let's check on the Master if all the node are connected or not.
docker node ls
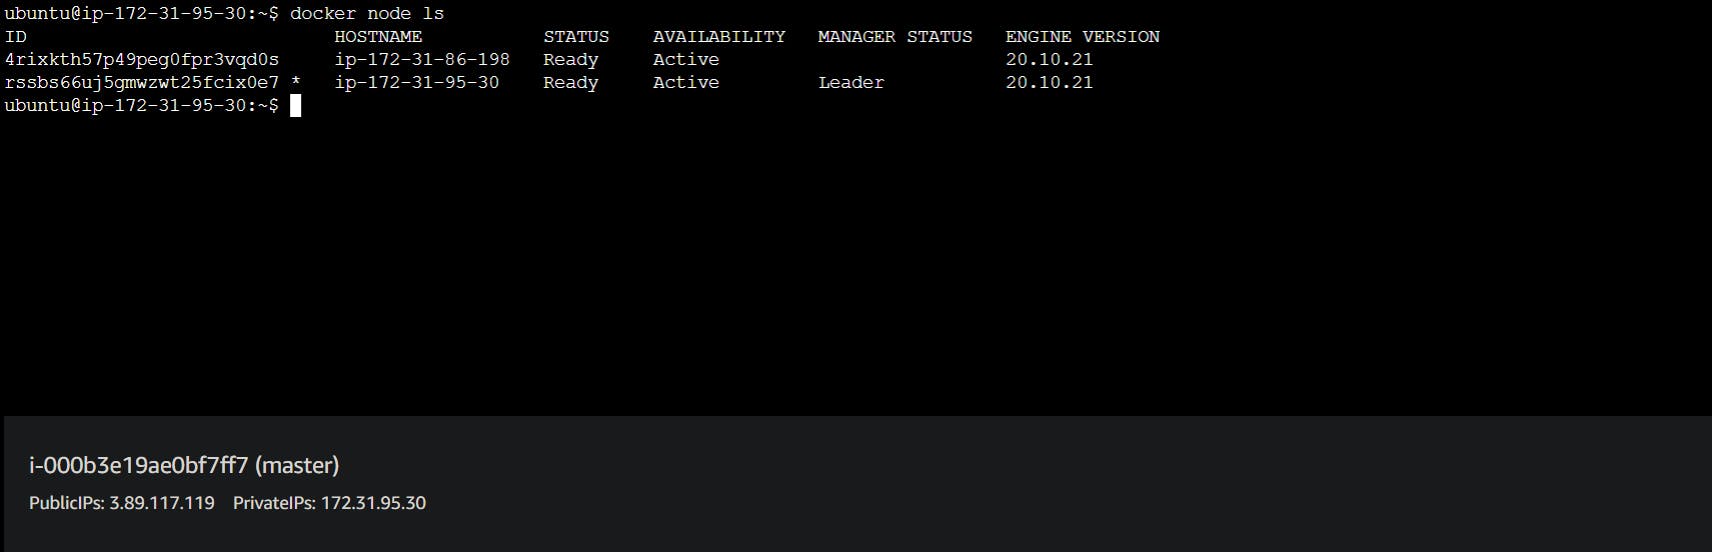
On the master node, we see that just one worker node are connected because we just use the token key on the worker-1 node. That's why one worker node are connected to the master node.
Same way we paste the token to other worker nodes and then check if all nodes are connected or not.
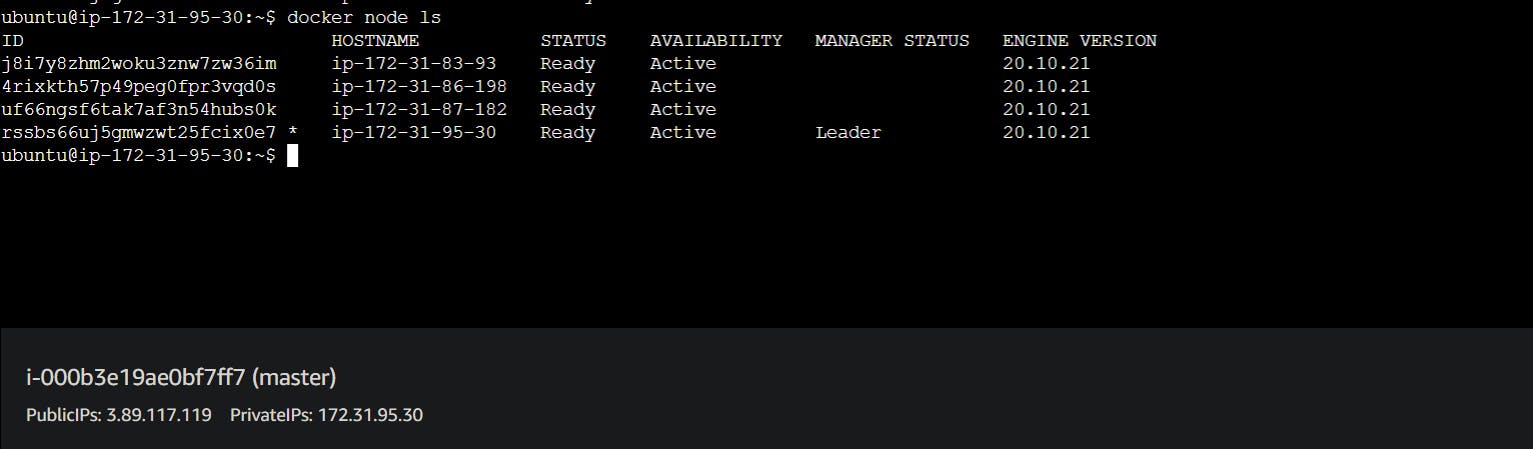
Now all three nodes are connected.
Now I want to create a service on this cluster for a particular app.
For Example, I am using an MYSQL
I will go to Master and run the below commands.
docker service create --name mysql-service --replicas 3 --publish 3306:3306 -e MYSQL_ROOT_PASSWORD=test@123 mysql:5.7
Here, docker service create is used to create a service
--name mysql-service is name of the service
--replicas 3 is number of replicas of MySQL
--publish 3306:3306 is allows port for containers
--e MYSQL_ROOT_PASSWORD="Test@123"
--mysql:5.7 is the environment and MySQL version
Now if you see all the replicas are ready.

Now here Master distributed the replica in all servers.
For example, we used replicas as 3, so here Master takes one replica and the rest of the two are distributed in workers.
Let's check on Master and Workers.
Here is Master.

Here is Worker-1:

Here is Worker-2:

Here is Worker-3
But we do not have any replicas on worker-3 because all replicas have already been distributed.

I want to give one replicate to worker-3 as well what should I do?
Easy!!!!
docker service scale mysql-service=4
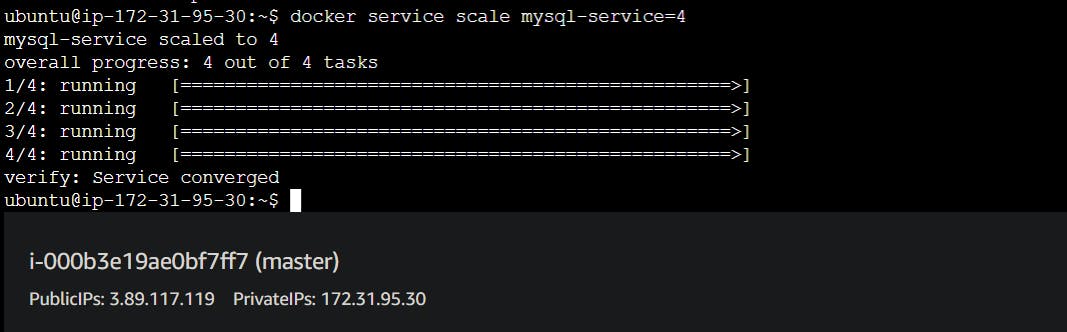
Now we have one replica in worker-3

Now I want to run an application on all Master and all workers.
I have a Django todo App on docker hub now, I am going to run this application on my cluster.
Here is the container and commands.
docker service create --name django-todo-service --replicas 4 --publish 8000:8000 nahid0002/django-todo-app:latest

If you see my images are ready and I have to open port 8000 to run this application.
Master:

Worker-1:

Worker-2:

Worker-3:

Now, we can run the application on port 8000.
Master:
Worker-1:
Worker-2:
Worker-3:
That's all about the most amazing topic docker swarm.
Docker Volume, Docker Compose, and Docker Swarm are indispensable tools for any software developer or DevOps engineer venturing into containerization.
Docker volumes offer a reliable mechanism to persist data beyond the lifespan of a container. They enable seamless sharing and storage of data between containers and the host system, allowing for greater flexibility and portability. With Docker volumes, you can securely store database files, share configuration files, and manage data independently of the containers utilizing them.
Docker Compose emerges as a game-changer when dealing with complex multi-container applications. By providing a unified approach to configure, deploy, and scale containers, Docker Compose simplifies the management of dependencies and services. Whether you're testing locally or deploying in production environments, Docker Compose streamlines the process, saving you time and effort.
When it comes to container resiliency and high availability, Docker Swarm takes the spotlight. In the event of container failure, Docker Swarm ensures quick recovery and replication across multiple systems. By leveraging Swarm's orchestration capabilities, you can distribute containers, manage their lifecycles, and achieve fault tolerance, making it a crucial tool for critical applications.
By exploring Docker Volume, Docker Compose, and Docker Swarm, you have gained a deep understanding of these technologies and their applications in containerization. Armed with this knowledge, you can enhance your development workflow, simplify deployment processes, and achieve a higher level of efficiency in managing containerized applications.
Thank you for reading this blog. I hope you learned something new today! If you found this blog helpful, please like, share, and follow me for more blog posts like this in the future.
— Happy Learning !!!